

Directions to start
Mousa is only accessible by boat from Sandwick, and more information can be found on the Mousa Boat website.
Mousa is only accessible by boat from Sandwick, and more information can be found on the Mousa Boat website.
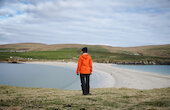
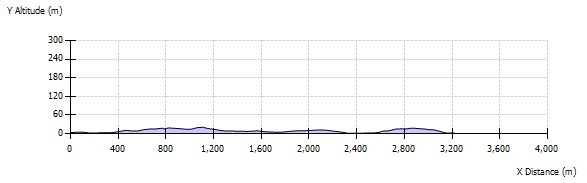
This is a circular coastal and moorland walk around the RSPB reserve on the island of Mousa.
Mousa is only accessible by boat. A ferry operates April to September from Sandsayre, Leebitton and is run by Mousa Boat Trips. They offer trips during the day and unique, night-time trips to see the nocturnal storm petrels returning to their nest sites in the broch. The ferry across Mousa Sound takes about 15 minutes. Mousa Sound is one of the best places in Britain to see the Harbour Porpoise, known as the ‘Neesick’ in Shetland.
From the landing stage at West Ham pass to the right of the store house and head east across the narrowest part of the island to East Ham. The trail around the RSPB reserve is way-marked and should be adhered to. Mousa is composed mainly of flagstone, these were originally river and lake sediments deposited during the Devonian (around 375 million years ago).
From East Ham follow the coast south-east towards the Peerie Bard. The cliffs in this area are favoured nesting places for Fulmar and Shag; also Black Guillemot may be seen fishing offshore. Inland across the moor you may see the streamlined Arctic Skua or its more robust cousin the Great Skua. Both are a potential dive-bombing threat if you approach their nesting areas. On the cliff-top you will see a high-level storm beach were large slabs of flagstone have been plied up by giant waves generated by the great SE storm of 16th February 1900
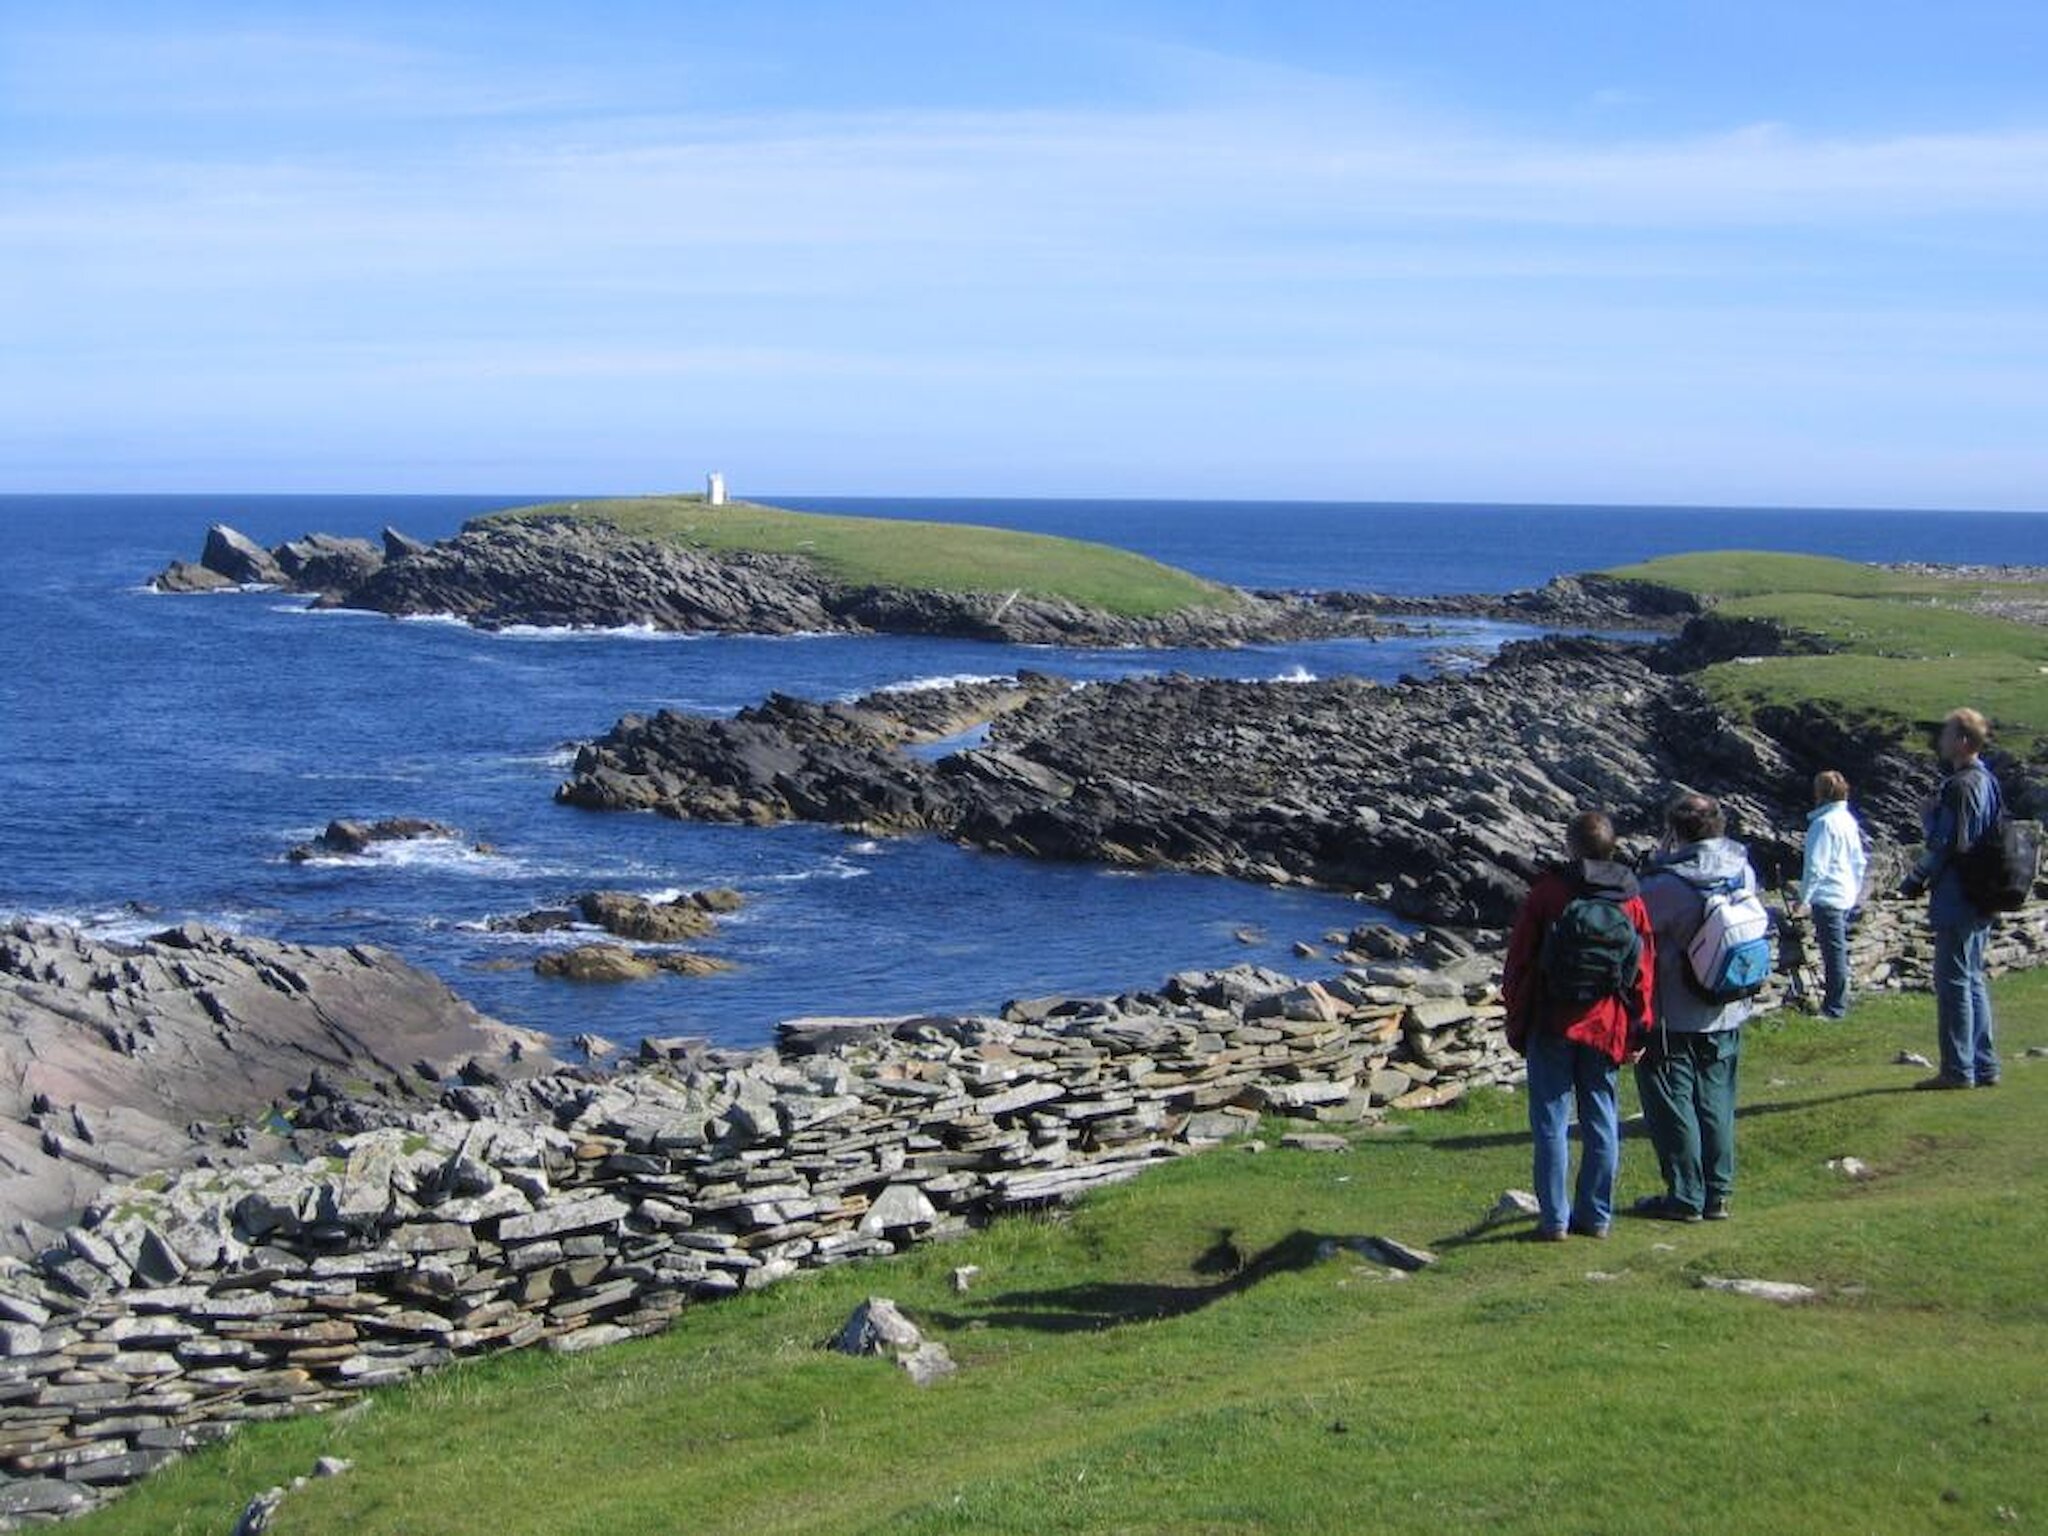
The trail follows line of a stone wall where there are views of the Peerie Bard and its lighthouse. The Aberdeen to Lerwick steamer was wrecked just south of here when it hit a reef in thick fog on the 10th April 1930. Keep inside the wall as you pass the East Pool, this is a great view-point of a favourite haul out for both Common and Grey Seal. Common Seals pup here in June and are more numerous than the larger Grey Seal.
Just beyond the East Pool you pass through the wall for a view of the West Pool, another favourite haunt of seals. This is also an Arctic Tern colony and you should keep to the designated path. Known in Shetland as the ‘Tirrick’ the entire colony will defend their territory by swooping from a great height to frighten any intruder. From here follow the trail past the west shore of the small loch to its north-west corner. This loch is a favourite bathing pool for birds and has been known to accommodate the Red-throated Diver.
Mousa has been populated from earliest times through until mid 19th Century. At the north end of the loch there are Brunt Mounds dating from the Bronze Age (c1500BC). The ruins north of the loch are the abandoned croft houses and the ruin on the hill to south-west was the house of a Lerwick merchant. The stream from the loch once powered a Norse mill, the ruins of which can also be seen.
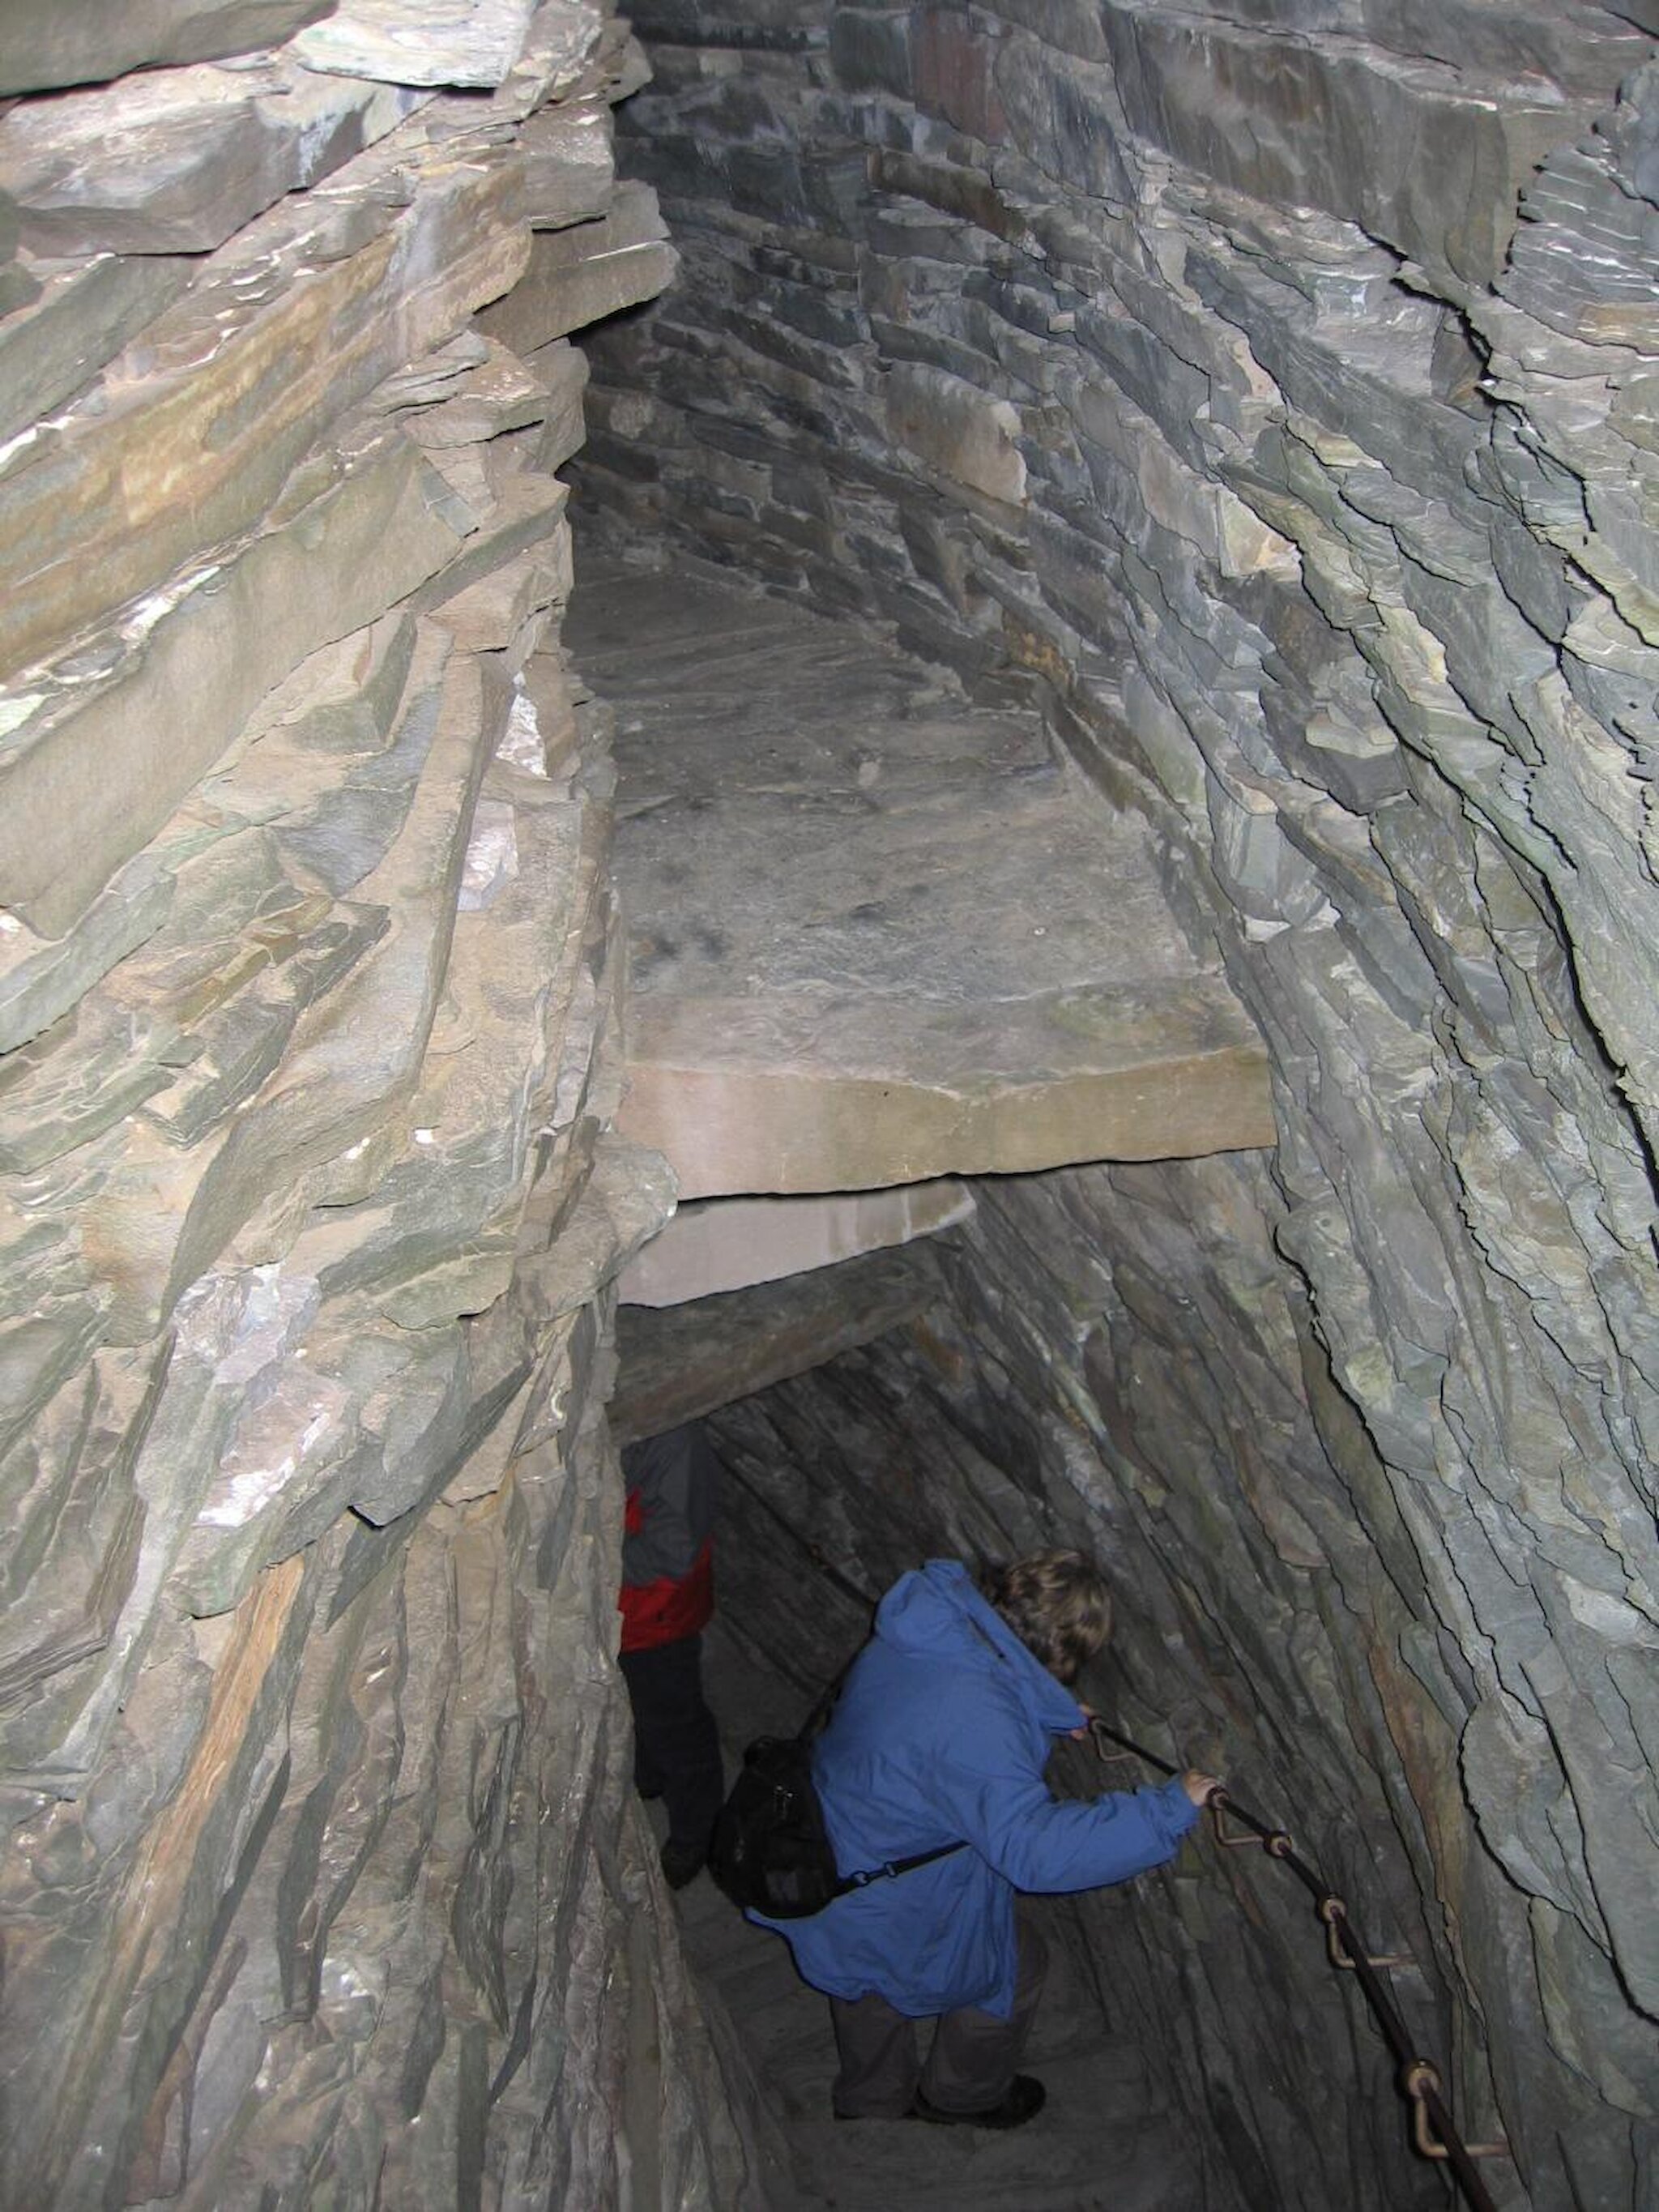
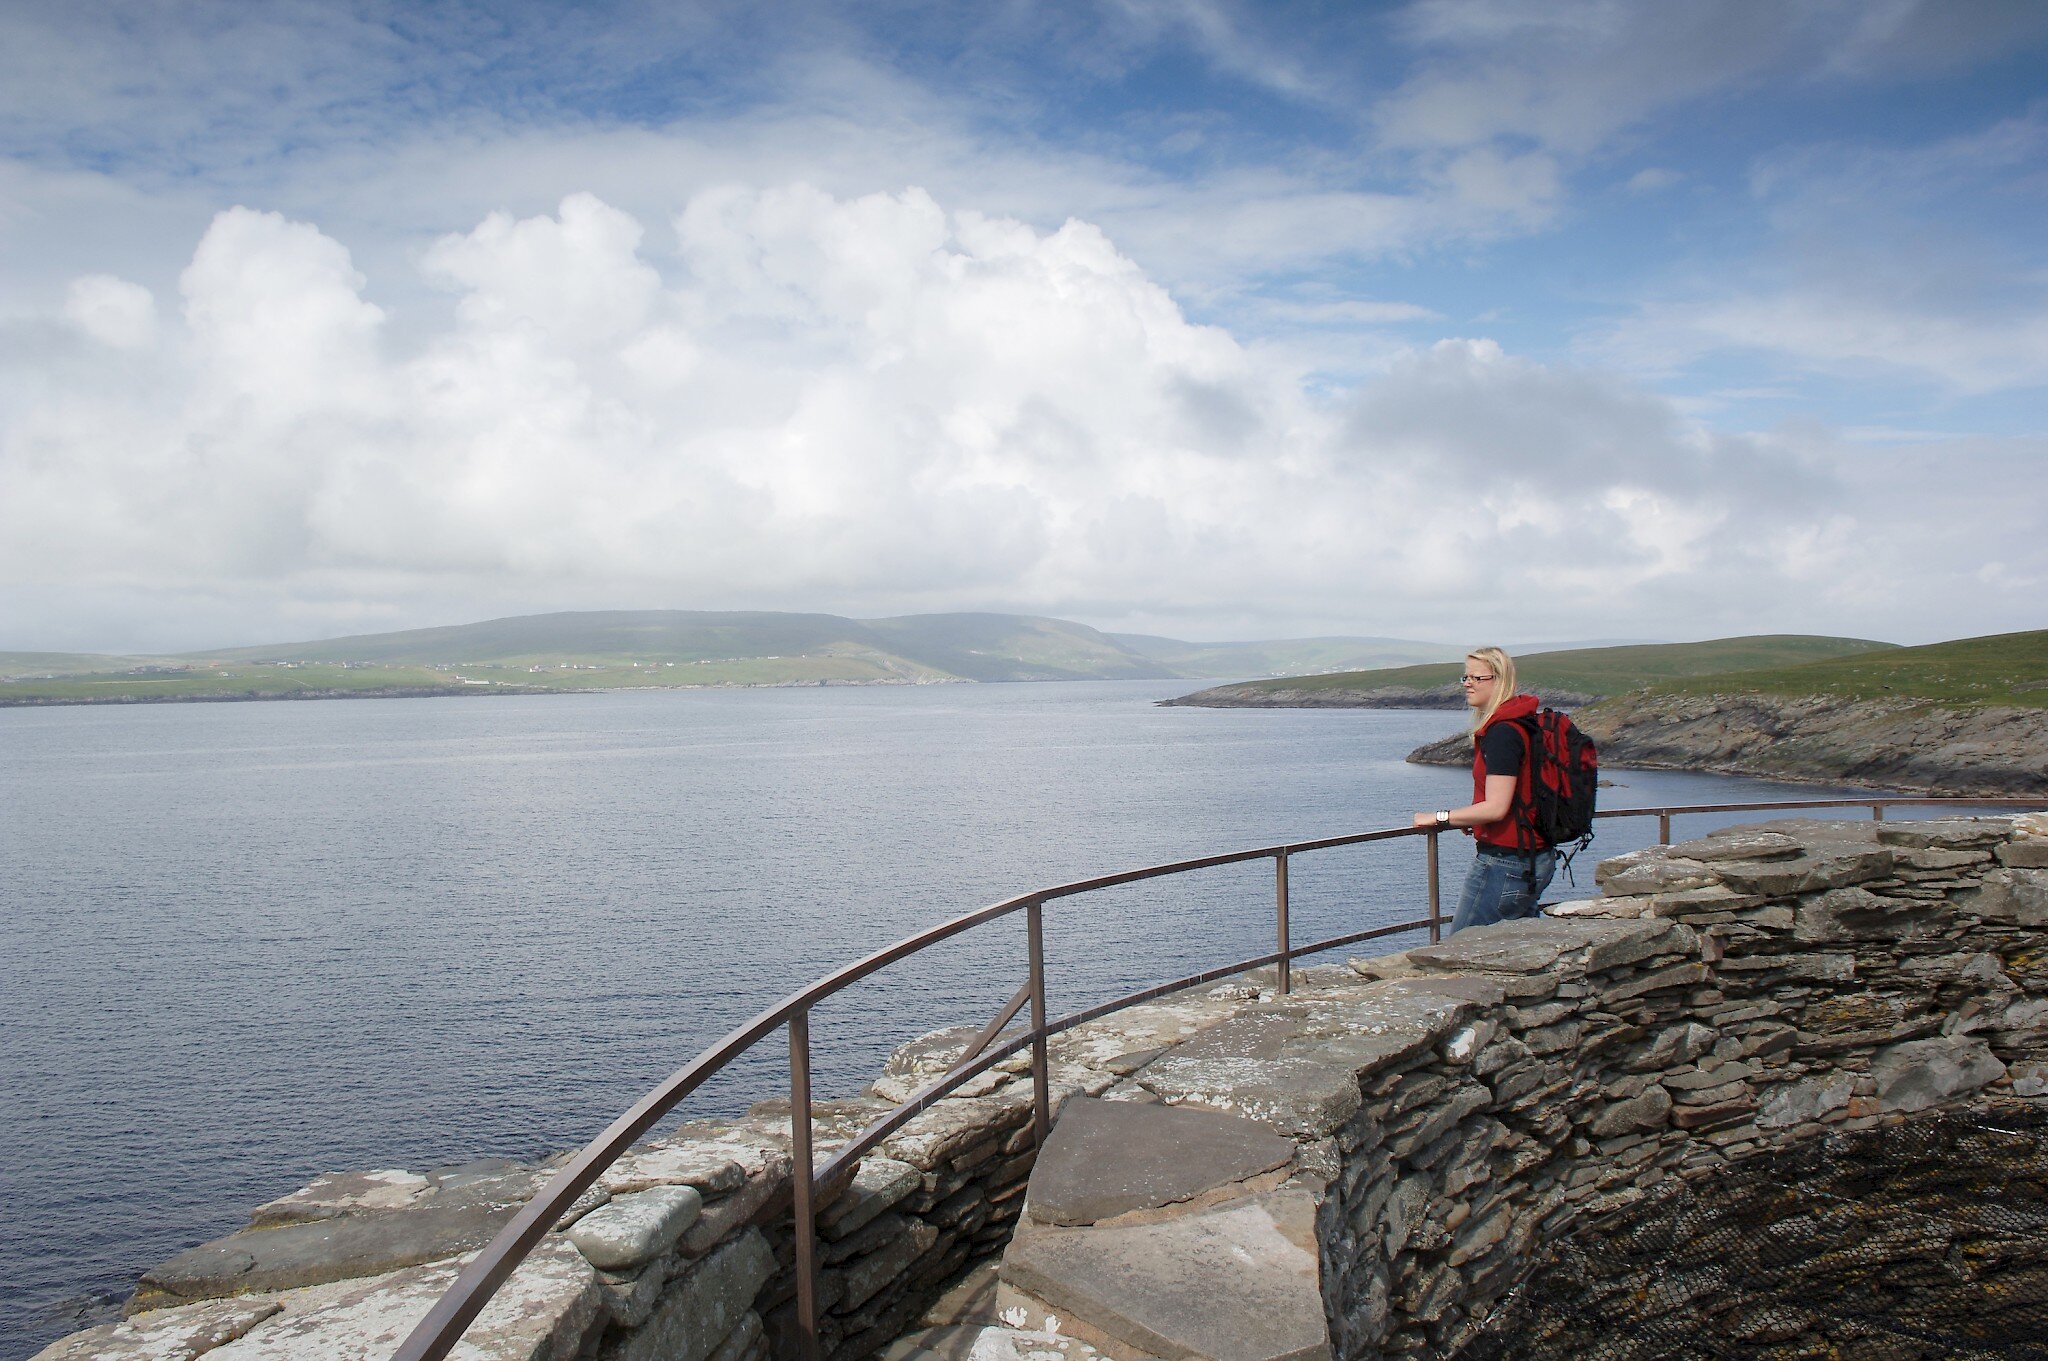
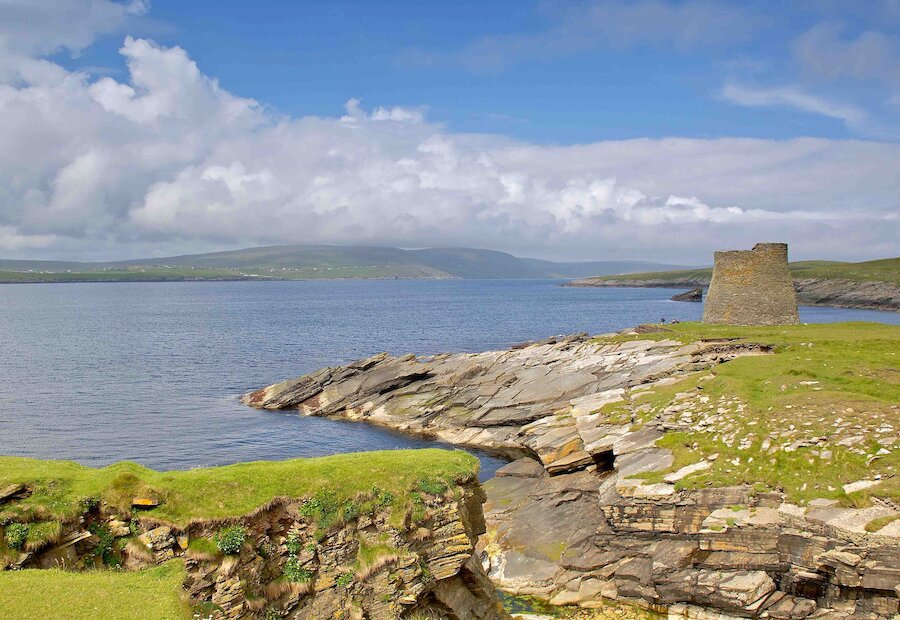
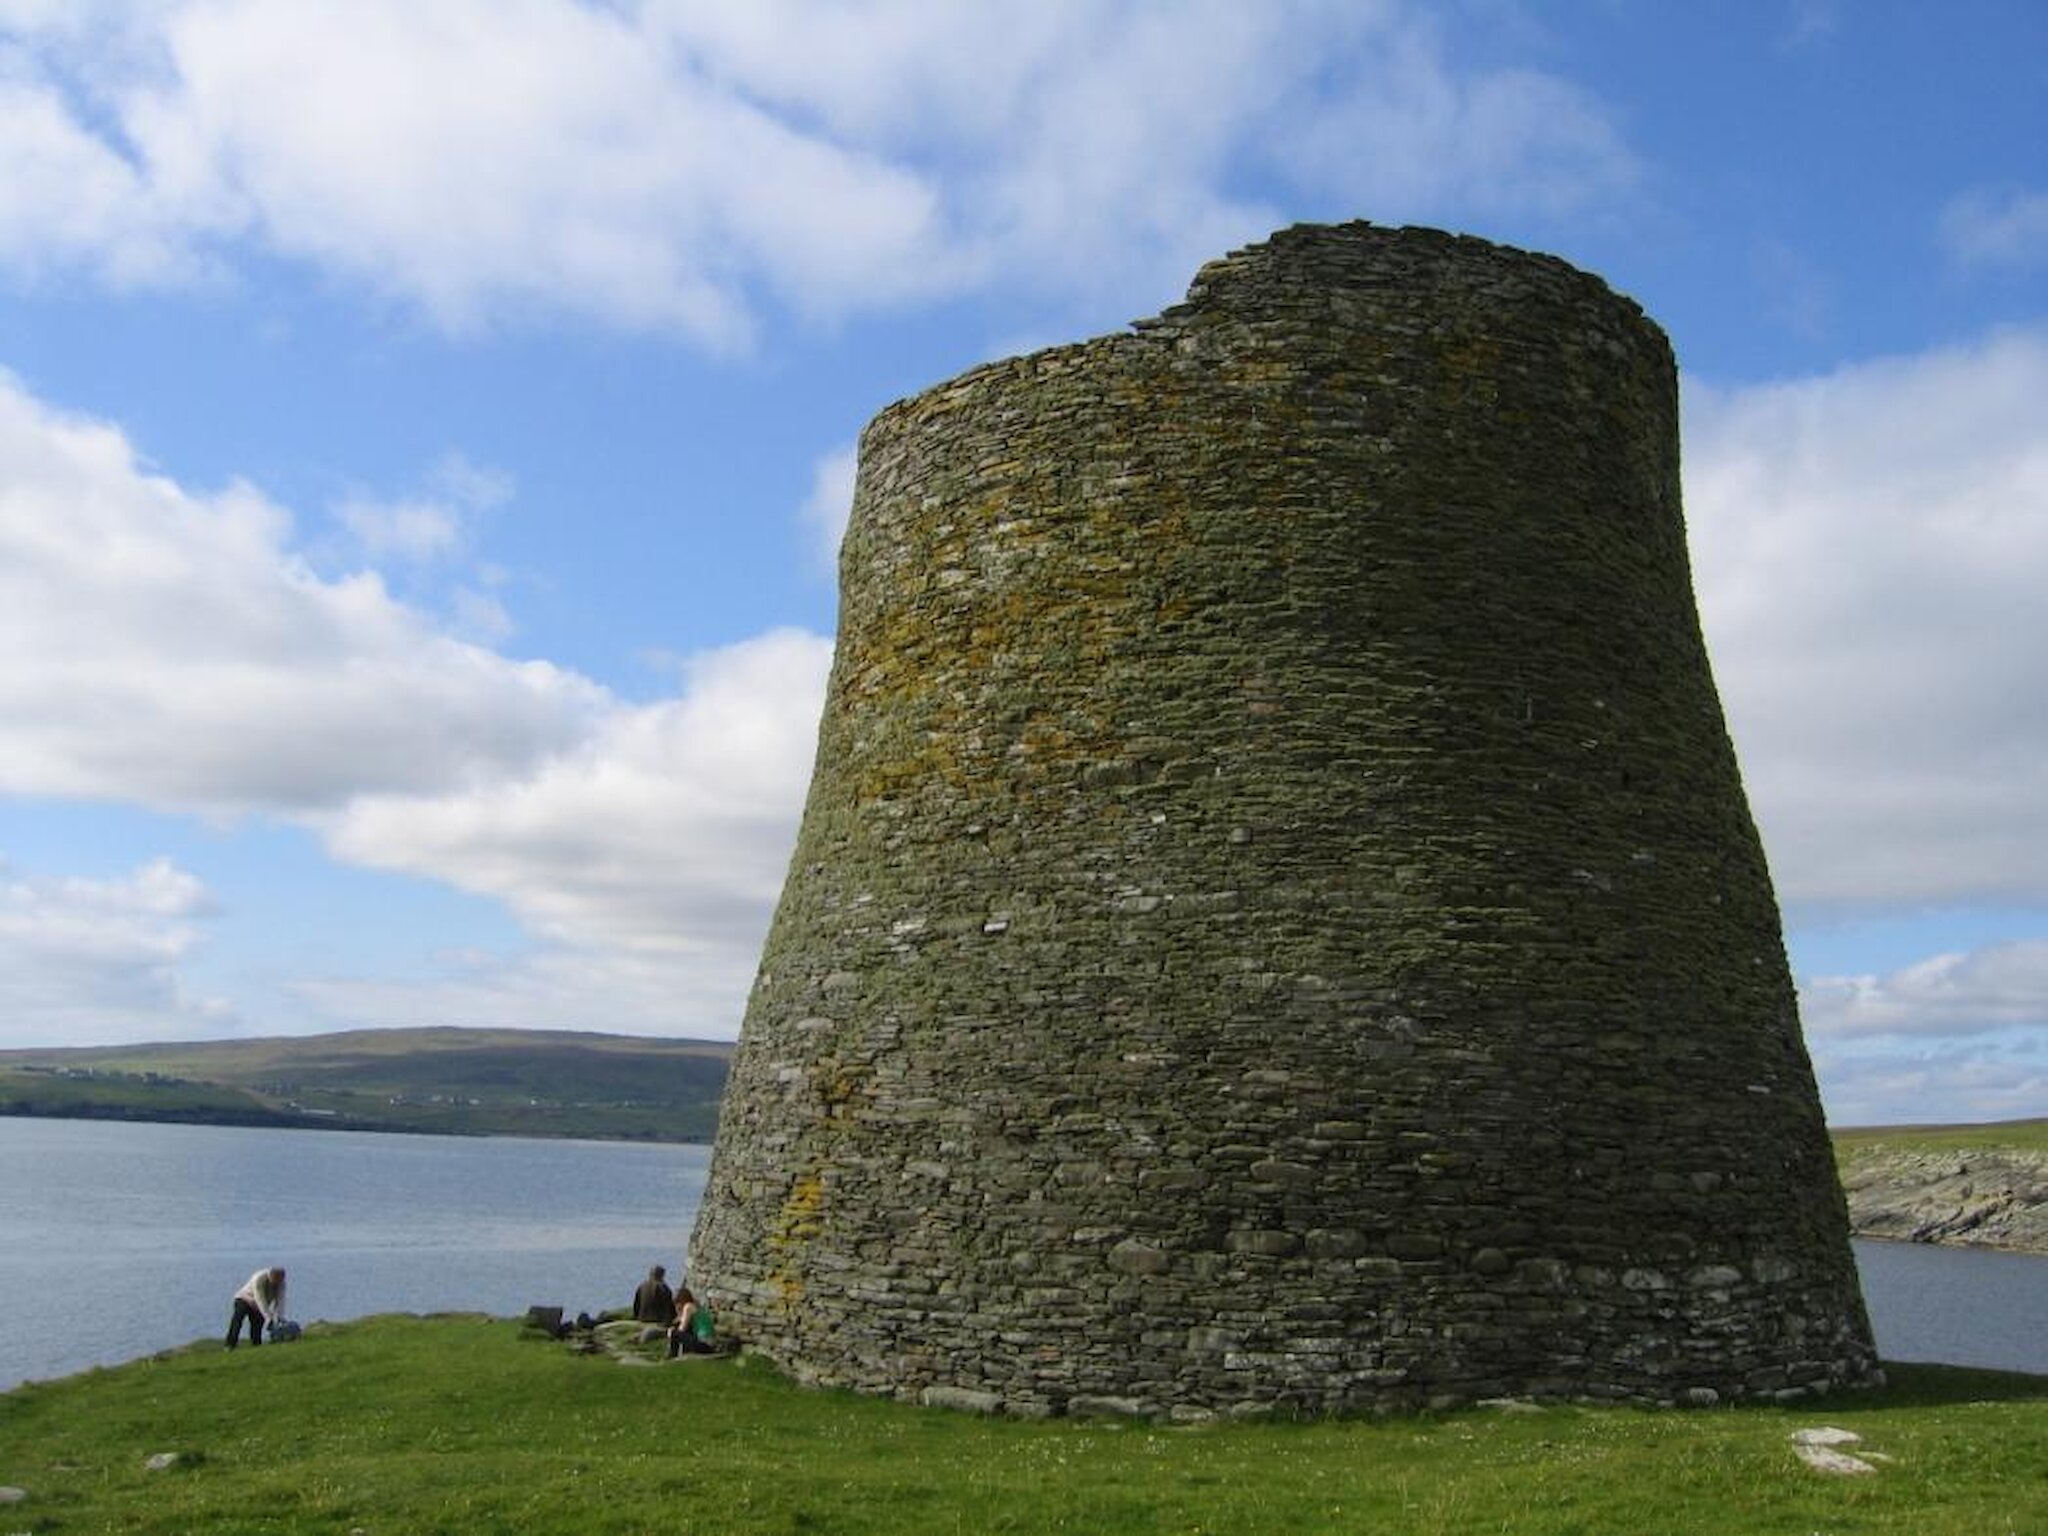
From the loch follow the trail to the broch. Mousa Broch is the best preserved example of an Iron Age (c300BC to 200AD) broch having its walls and internal galleries complete for the most part, although any wooden internal structures or roof has disappeared. Mousa broch is open to the public and can be explored with care. Brochs appear to have been defensive although their precise function is the matter of heated debate among archaeologists and historians.
From the broch follow the coast back to the start point at West Ham. Use the boardwalks where applicable and avoid walking on the shingle beach at Burgi Ayre.