

Directions to start
A very limited public transport network operates to Eshaness, and the timetable can be viewed on the Shetland Travel Information website. We'd recommend travelling there by car.

A very limited public transport network operates to Eshaness, and the timetable can be viewed on the Shetland Travel Information website. We'd recommend travelling there by car.
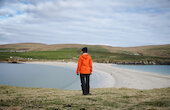
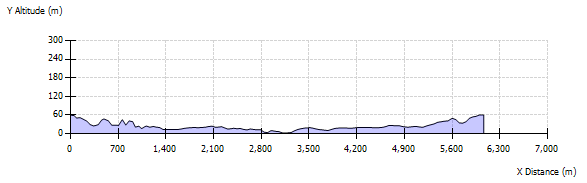
Few places in Shetland can rival Eshaness, either for scenery or historical interest. It is also very accessible. The start point is the car park at the lighthouse, which is visible for miles and is perched on the rim of fabulous volcanic cliffs. Read the interpretative panel in the car park nearby for details of the local geology and archaeology, then stand and take in the scenery to the north, where the full Atlantic fury has shaped some of Shetland's most dramatic cliff scenery.
You can walk along (at a safe distance from the edge) to the head of Calder's Geo, where the sea has gouged out a deep inlet along a line of weakness in the rock. Fulmars float on air currents above the surging waves and nest among the crannies of the vertical rock faces, which are transformed into hanging gardens by sea pinks, red campion, sea campion and birds foot trefoil in summer. This much is stunning enough, but if you have the energy and fitness, there are more thrills beyond.
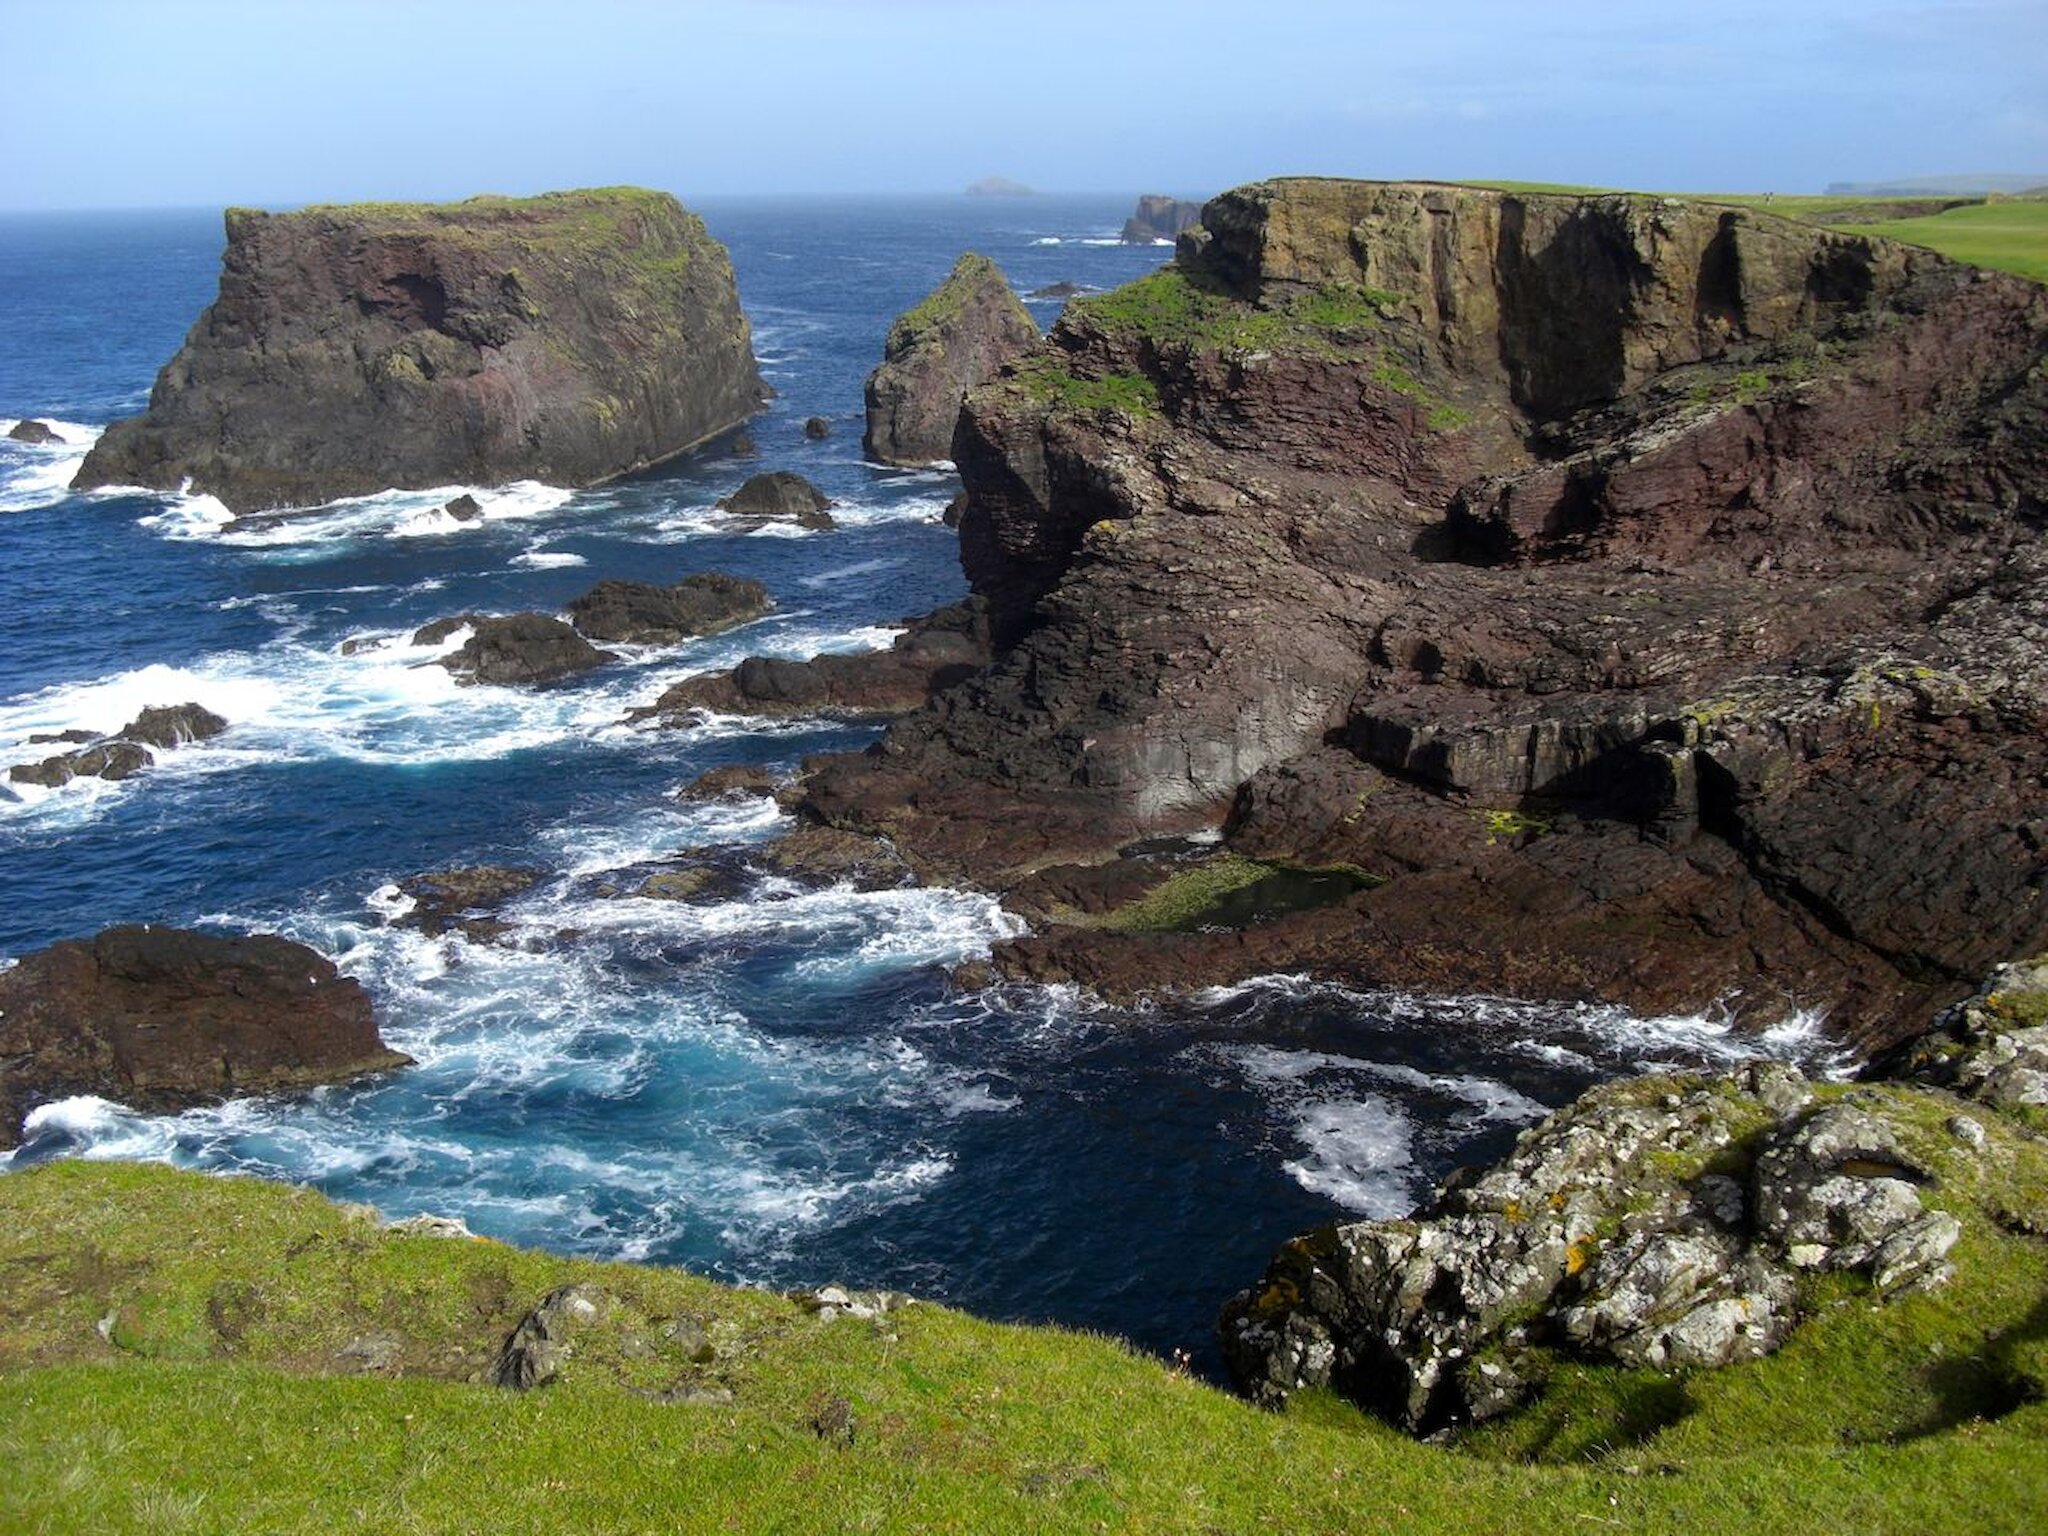
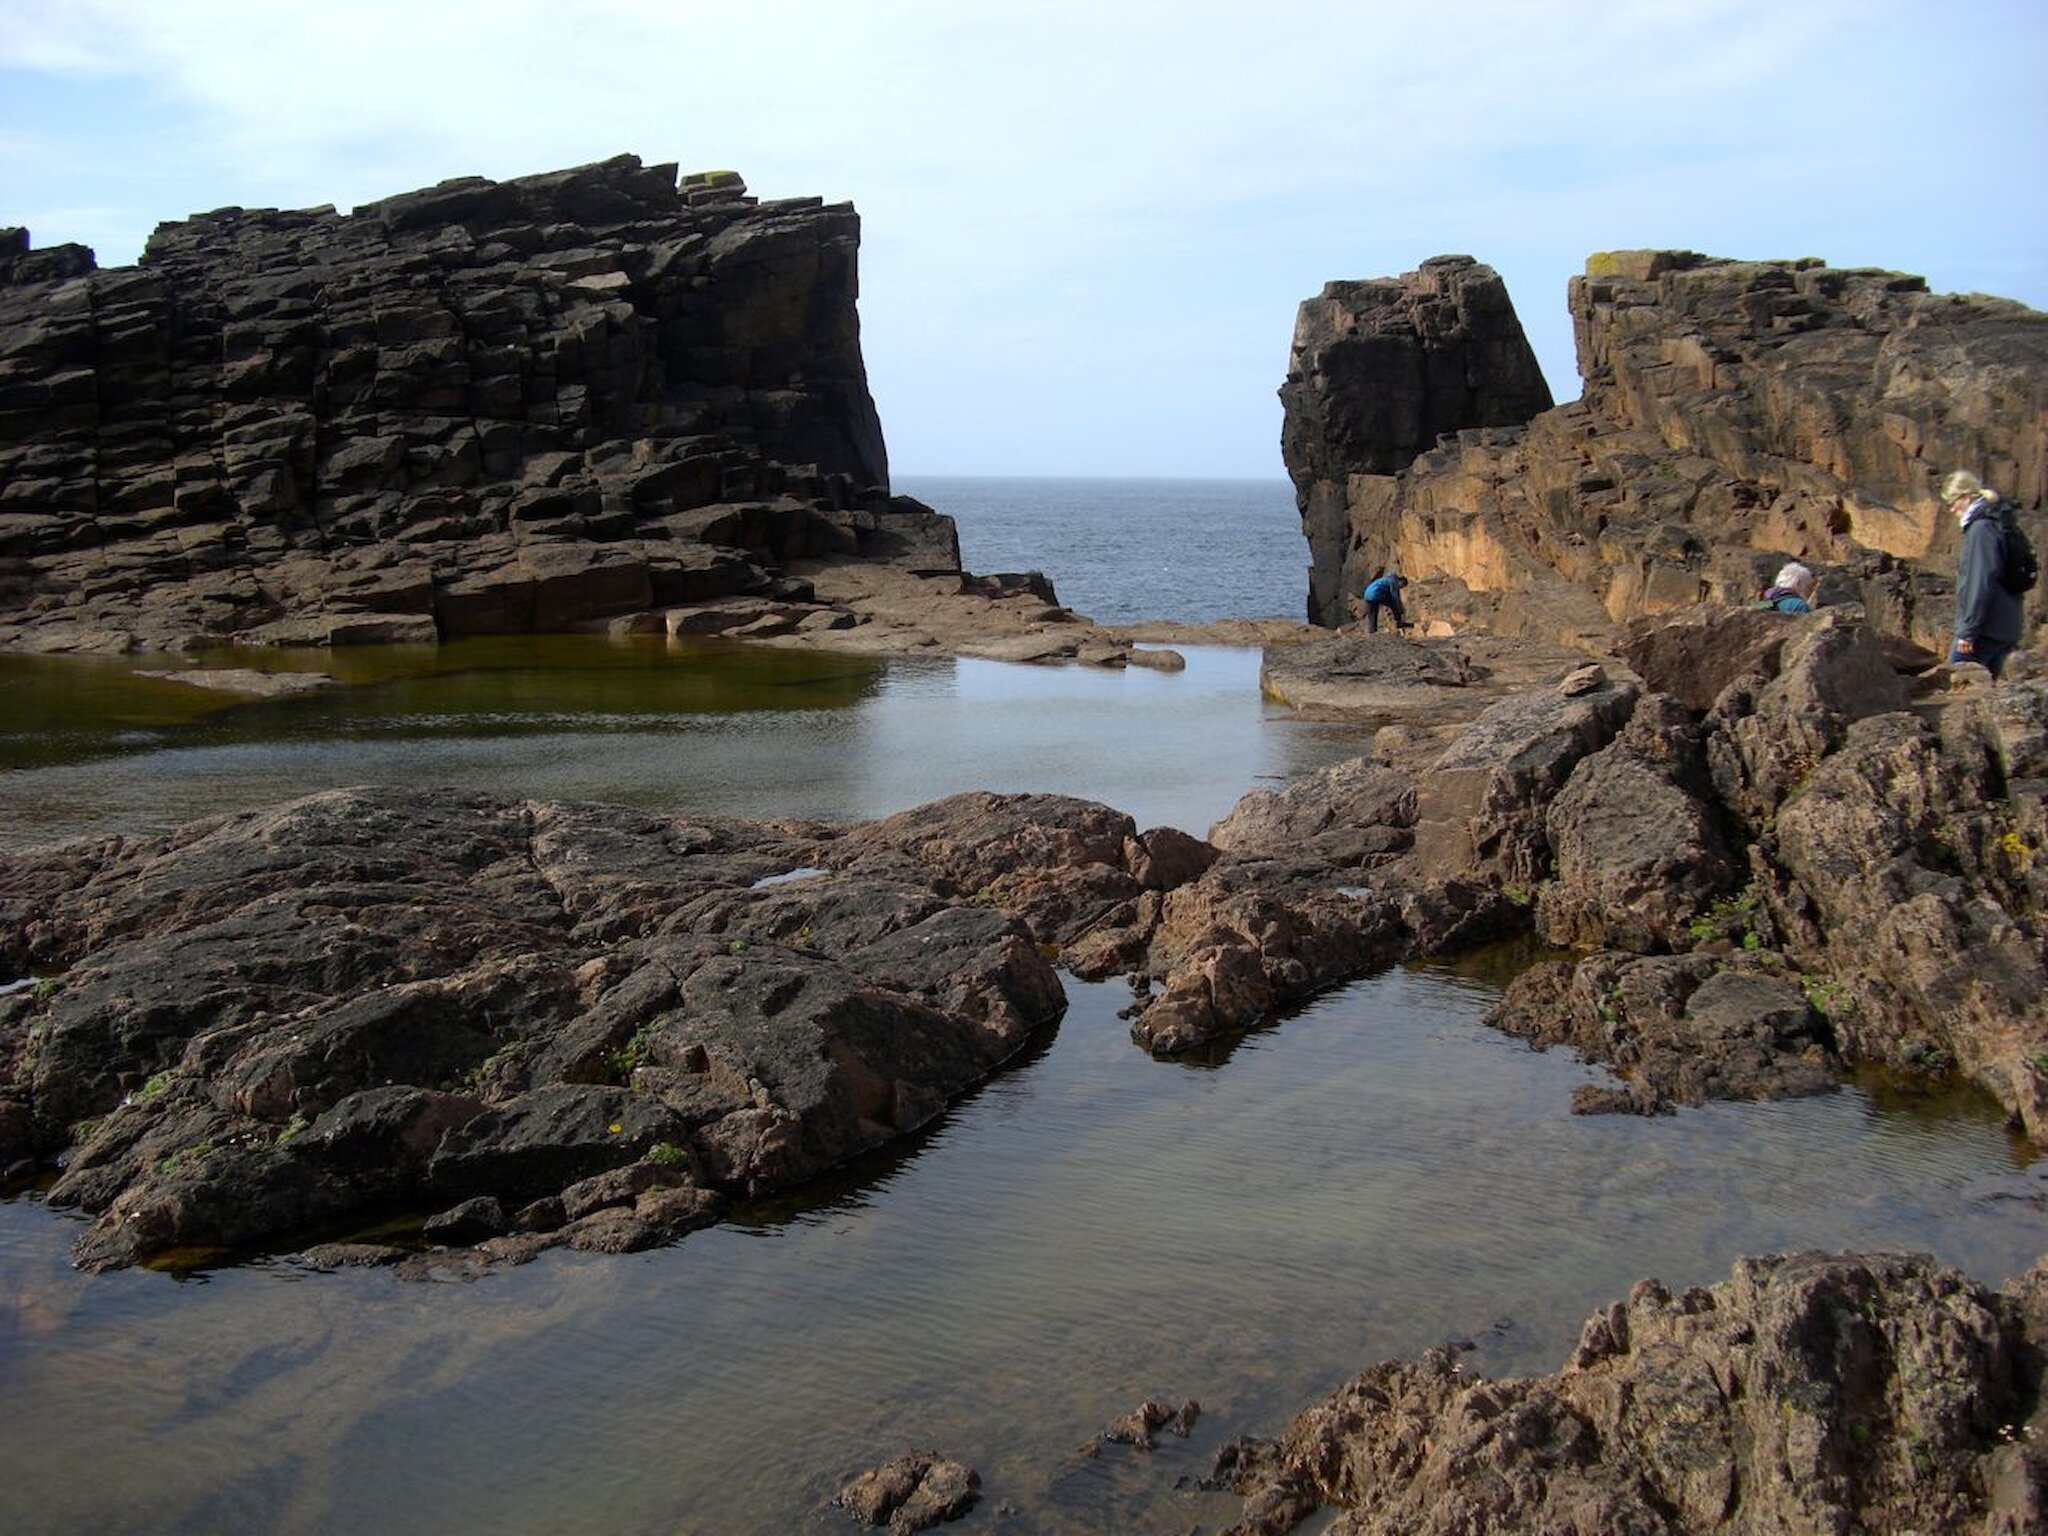
Head north along the cliff tops enjoying the changing volcanic cliff features, and noticing the big loch to the east. You can descend to that on your return. After crossing about seven fences, you will come to the dramatic Grind o da Navir. Here the mightiest western storm seas imaginable have smashed a great hole in the sea cliff wall and thrown thousands of tons of ignimbrite rock through the gap. These boulders have built up into a giant storm beach, a distance from the sea, trapping a small loch between the two.
You can continue for a short distance north, rounding the headland to the bay of The Burr where there are fine views north to Ronas Hill, The Villians of Hamnavoe and the remote islet of Muckle Ossa. Turn at Croo Loch, making your way back south to the Loch of Houlland. Here a causeway leads out to a small island, or holm and a ruined broch stands on a tiny promontory beside it. You can still make out the structure of the massive walls and some of the inner cells. The promontory was at one time walled off, to enable sheep to be gathered at certain times.
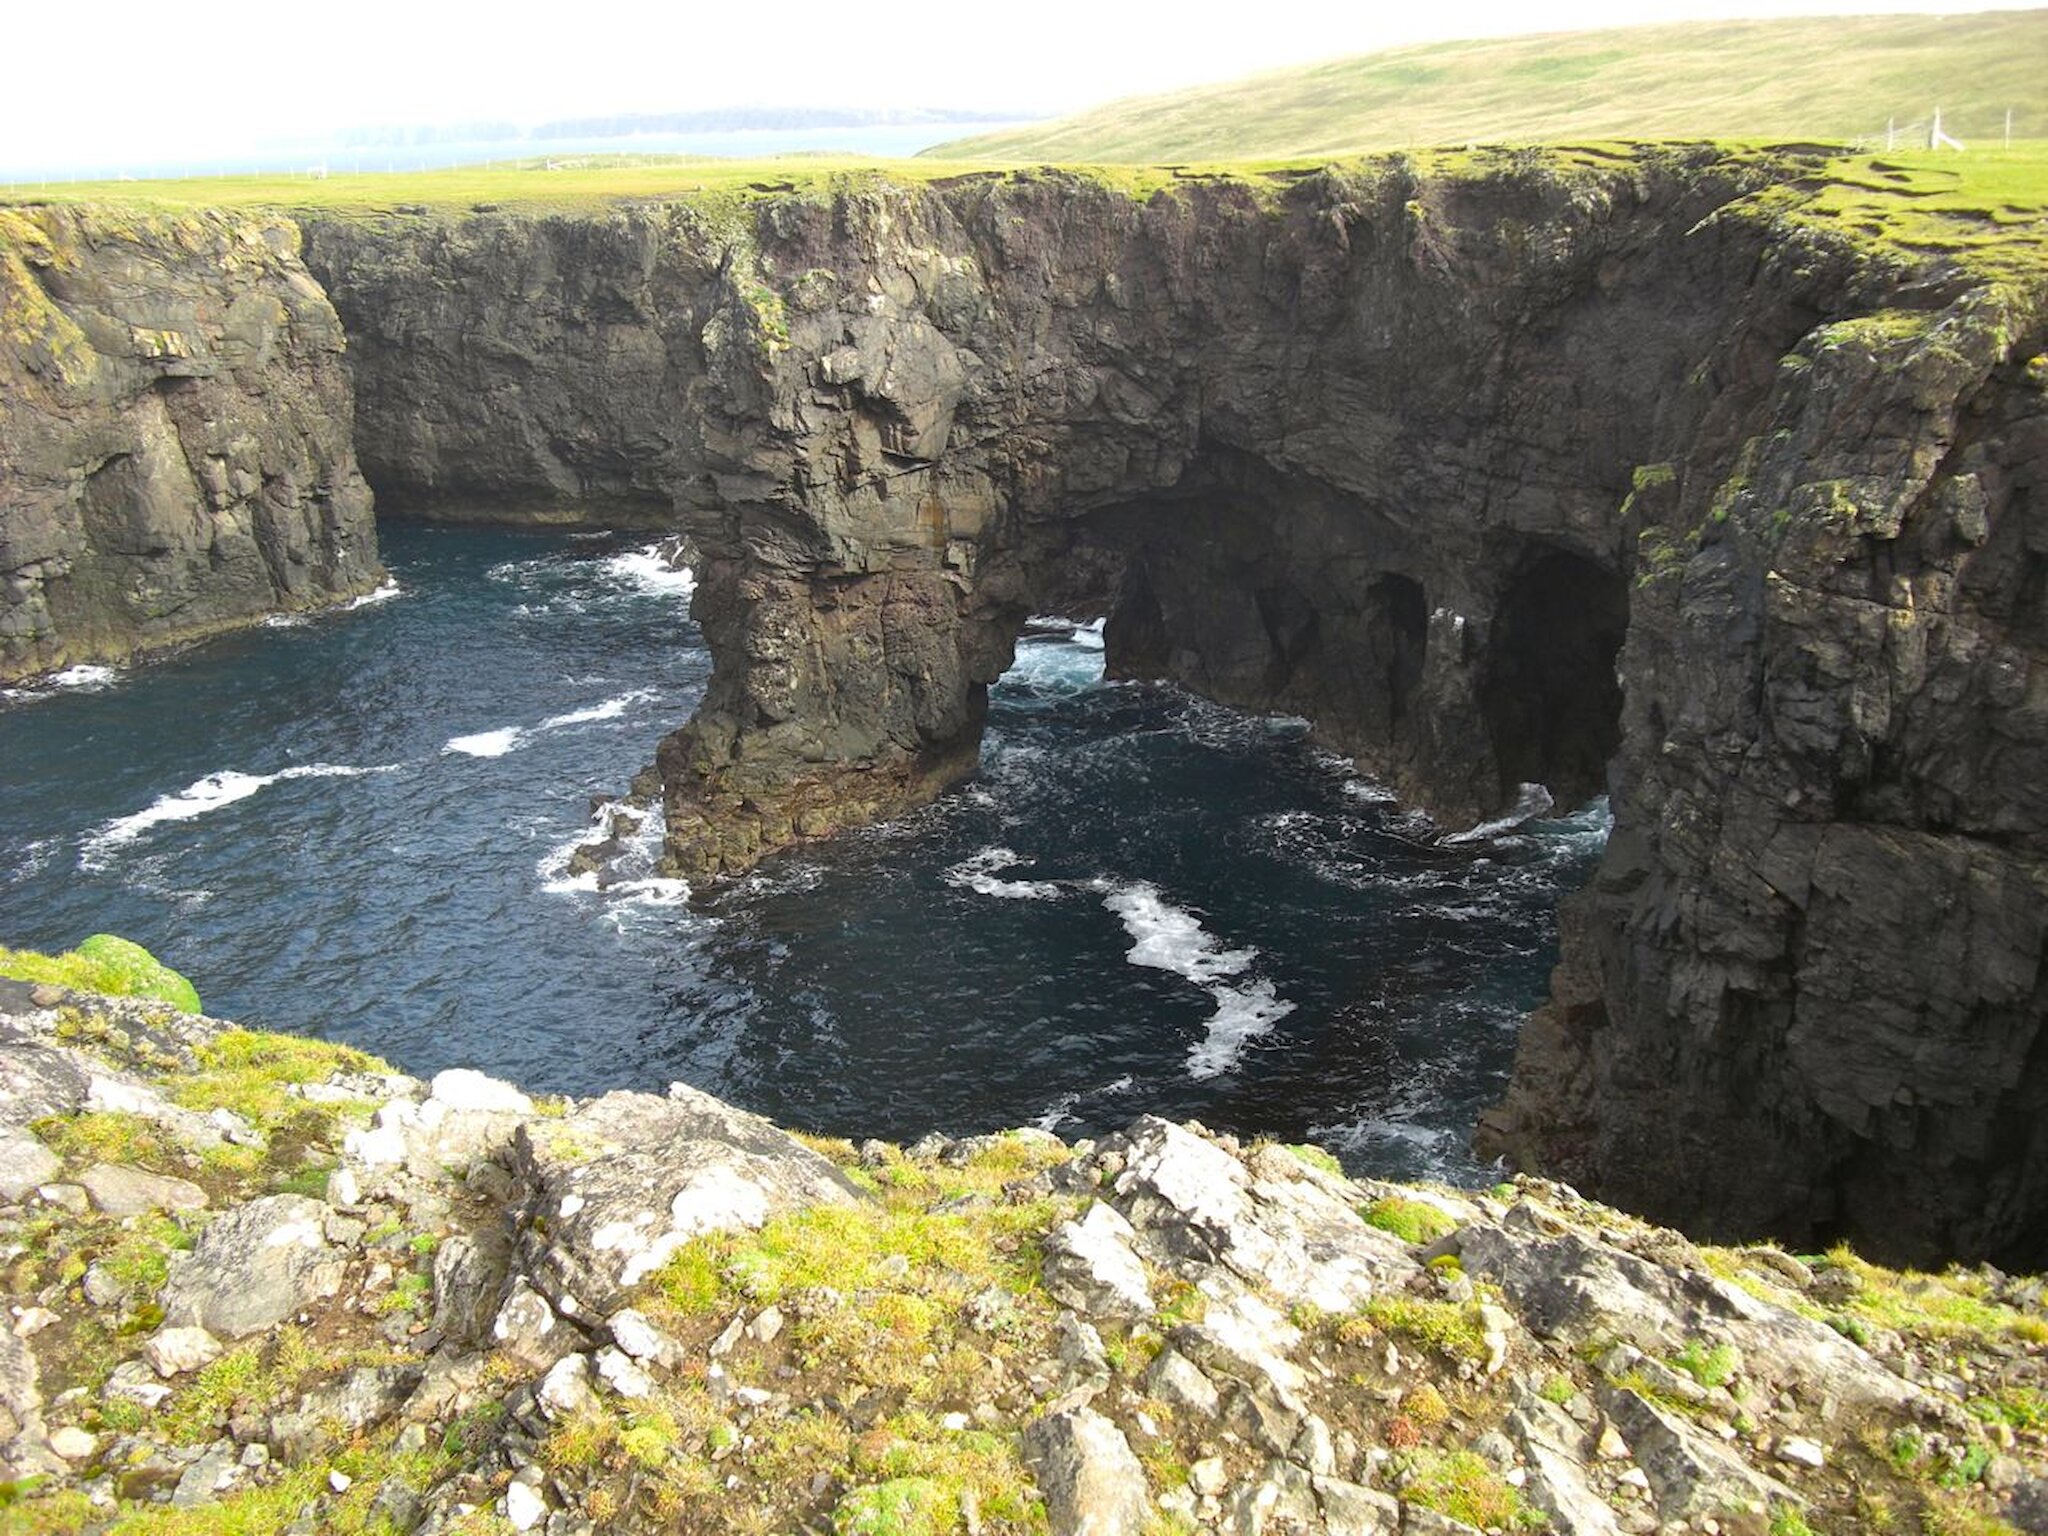
The loch drains down a small stream past the remains of several old water mills, then it drops over the edge of a steep cliff and splashes onto the beach of a deep, collapsed sea cave. A subterranean passage, negotiable by canoes in calm weather, reaches underground to the sea. This is The Holes of Scraada. There were once two, joined by a rock bridge which is said to have fallen just after a local man drove across it with a horse and cart.
Walk south along the loch shore, crossing the great stone wall by a ladder stile, and make your way back across the even turf, past the twin Lochs of Drid Geo to Calder's Geo and the lighthouse again.