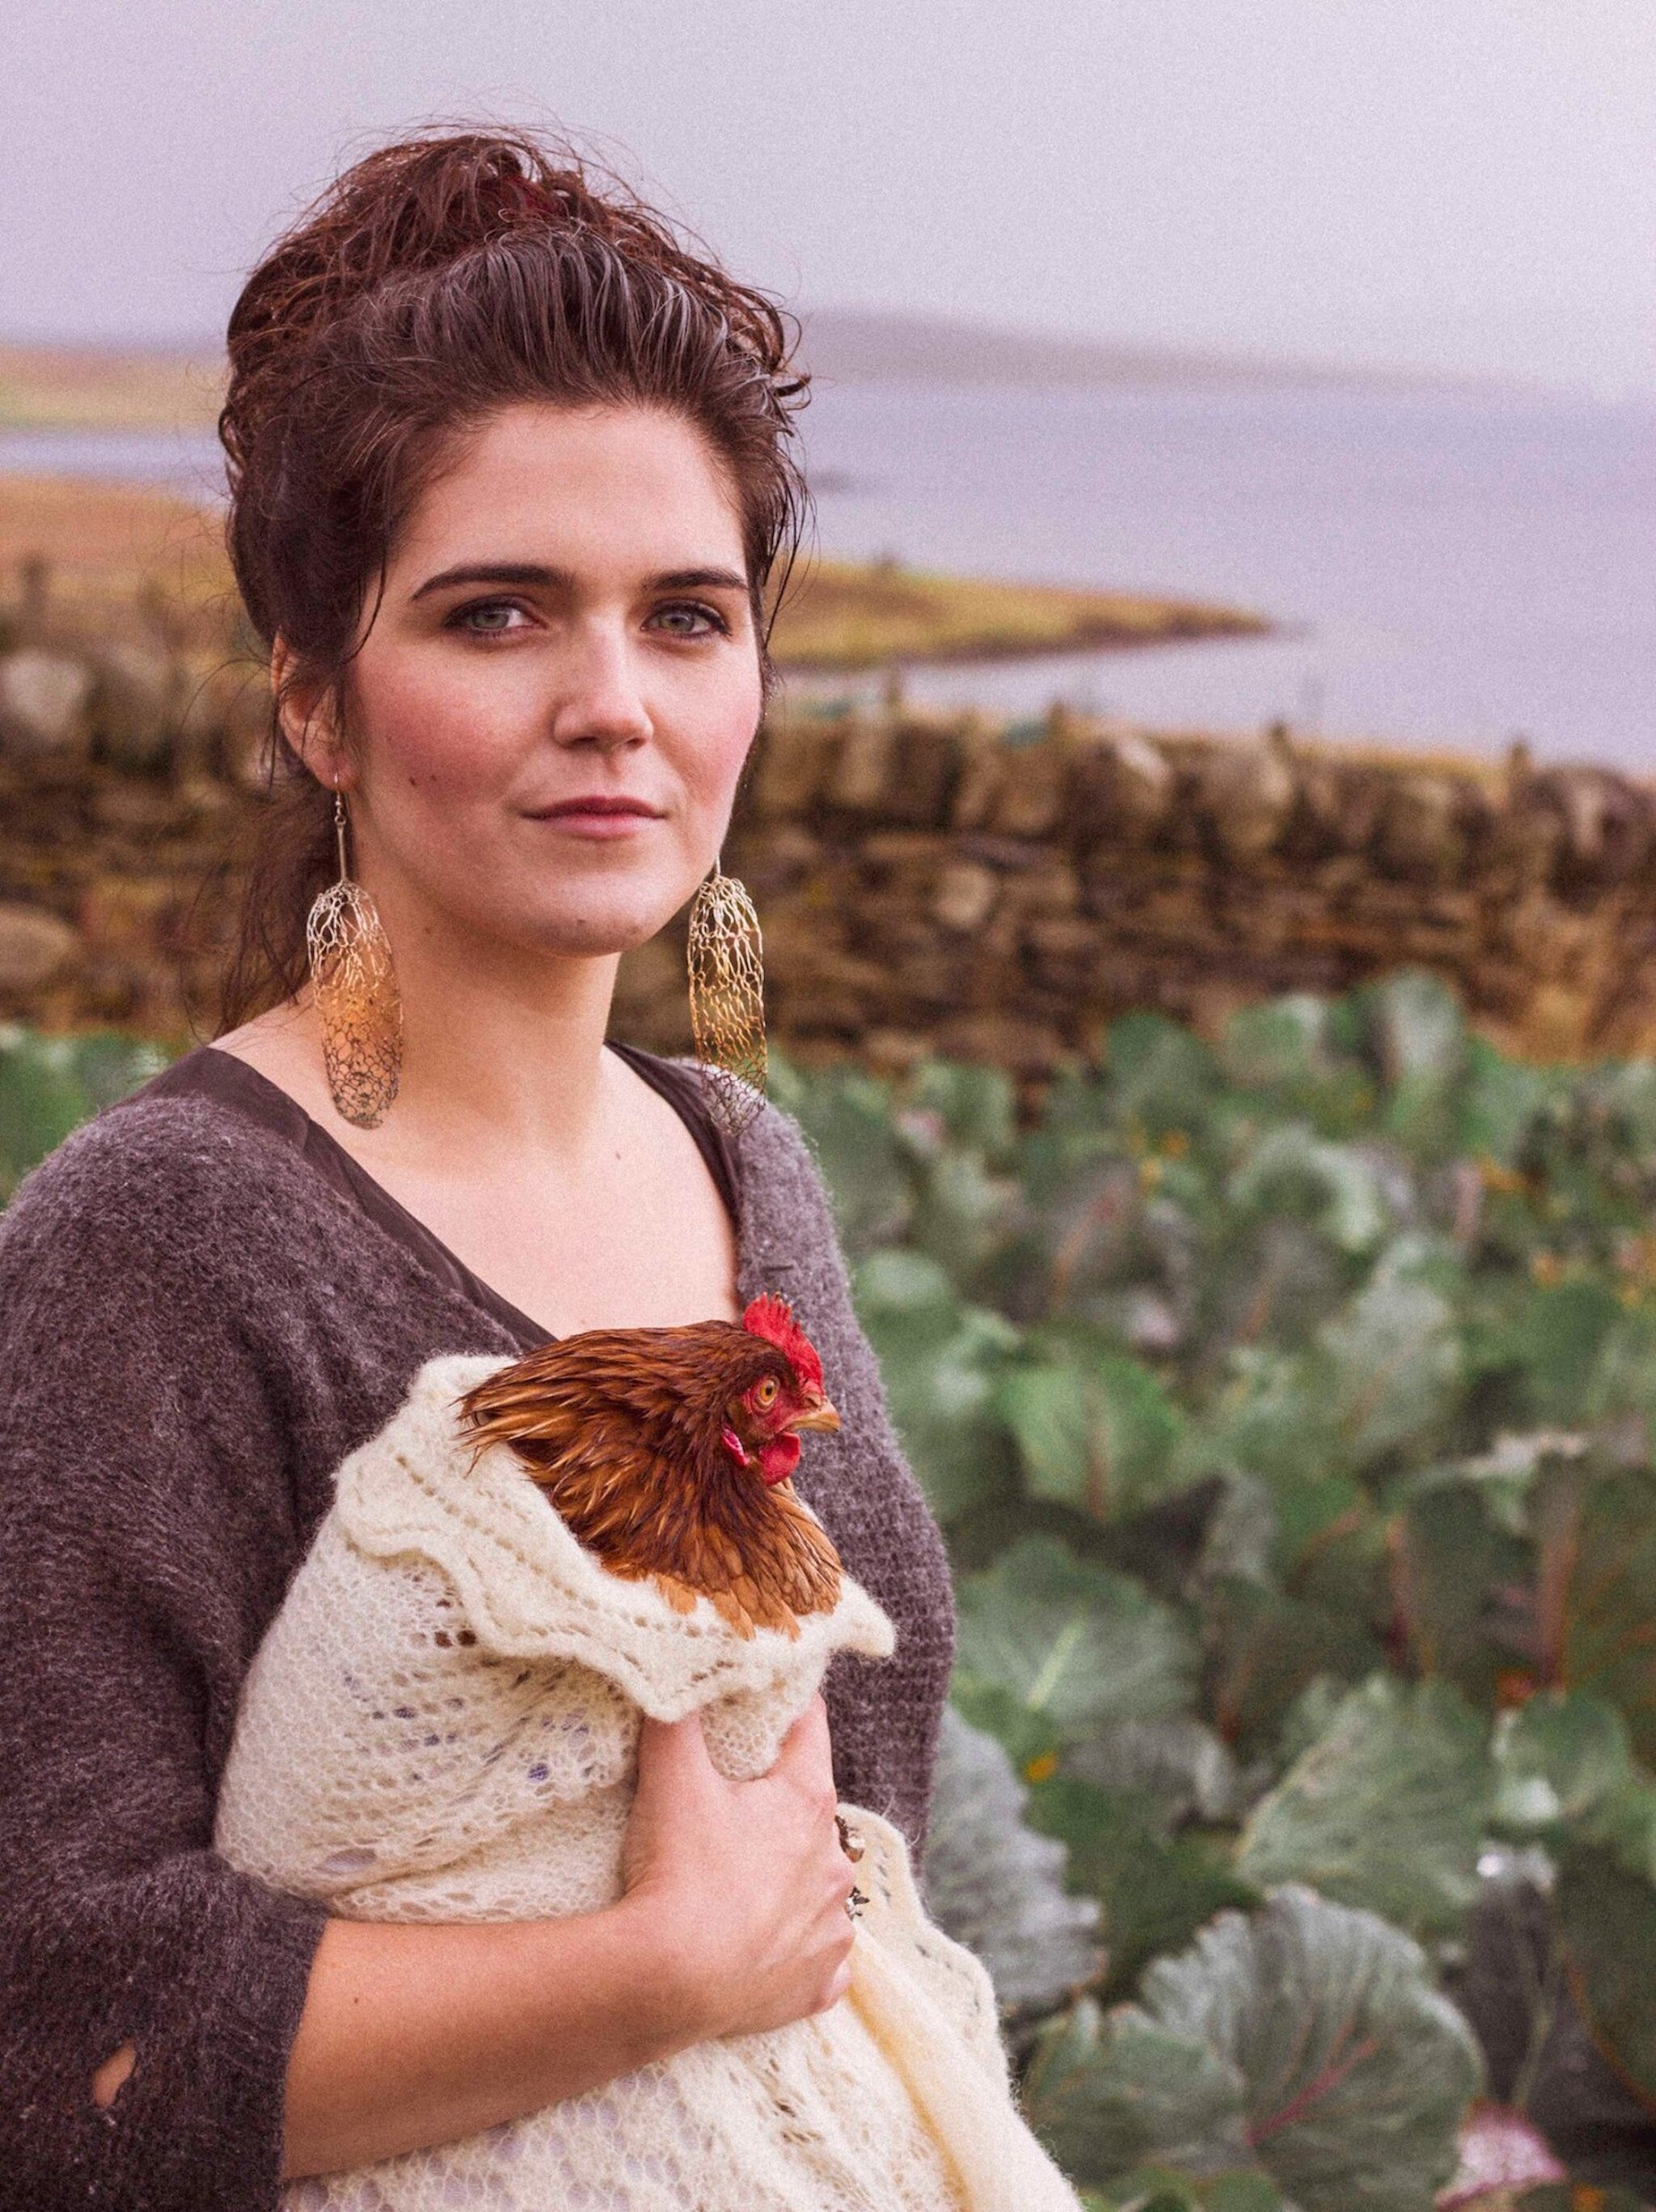
Helen Robertson is an incredibly talented Shetland designer, making jewellery inspired by Shetland's rich textile heritage. Her work is startingly original, knitted with fine wire to create bespoke, thought-provoking pieces.
She also has a wonky oven.
Folk in Shetland bake, and they bake a lot. Village gatherings usually involve cake of some sort, and well, a wonky oven makes wonky cakes, so Helen had to come up with something else to take to gatherings, saving her neighbours from witnessing her lopsided cakes.
As a result, she's perfected the art of making meringues, and she's kindly shared her tips with A Taste of Shetland readers.

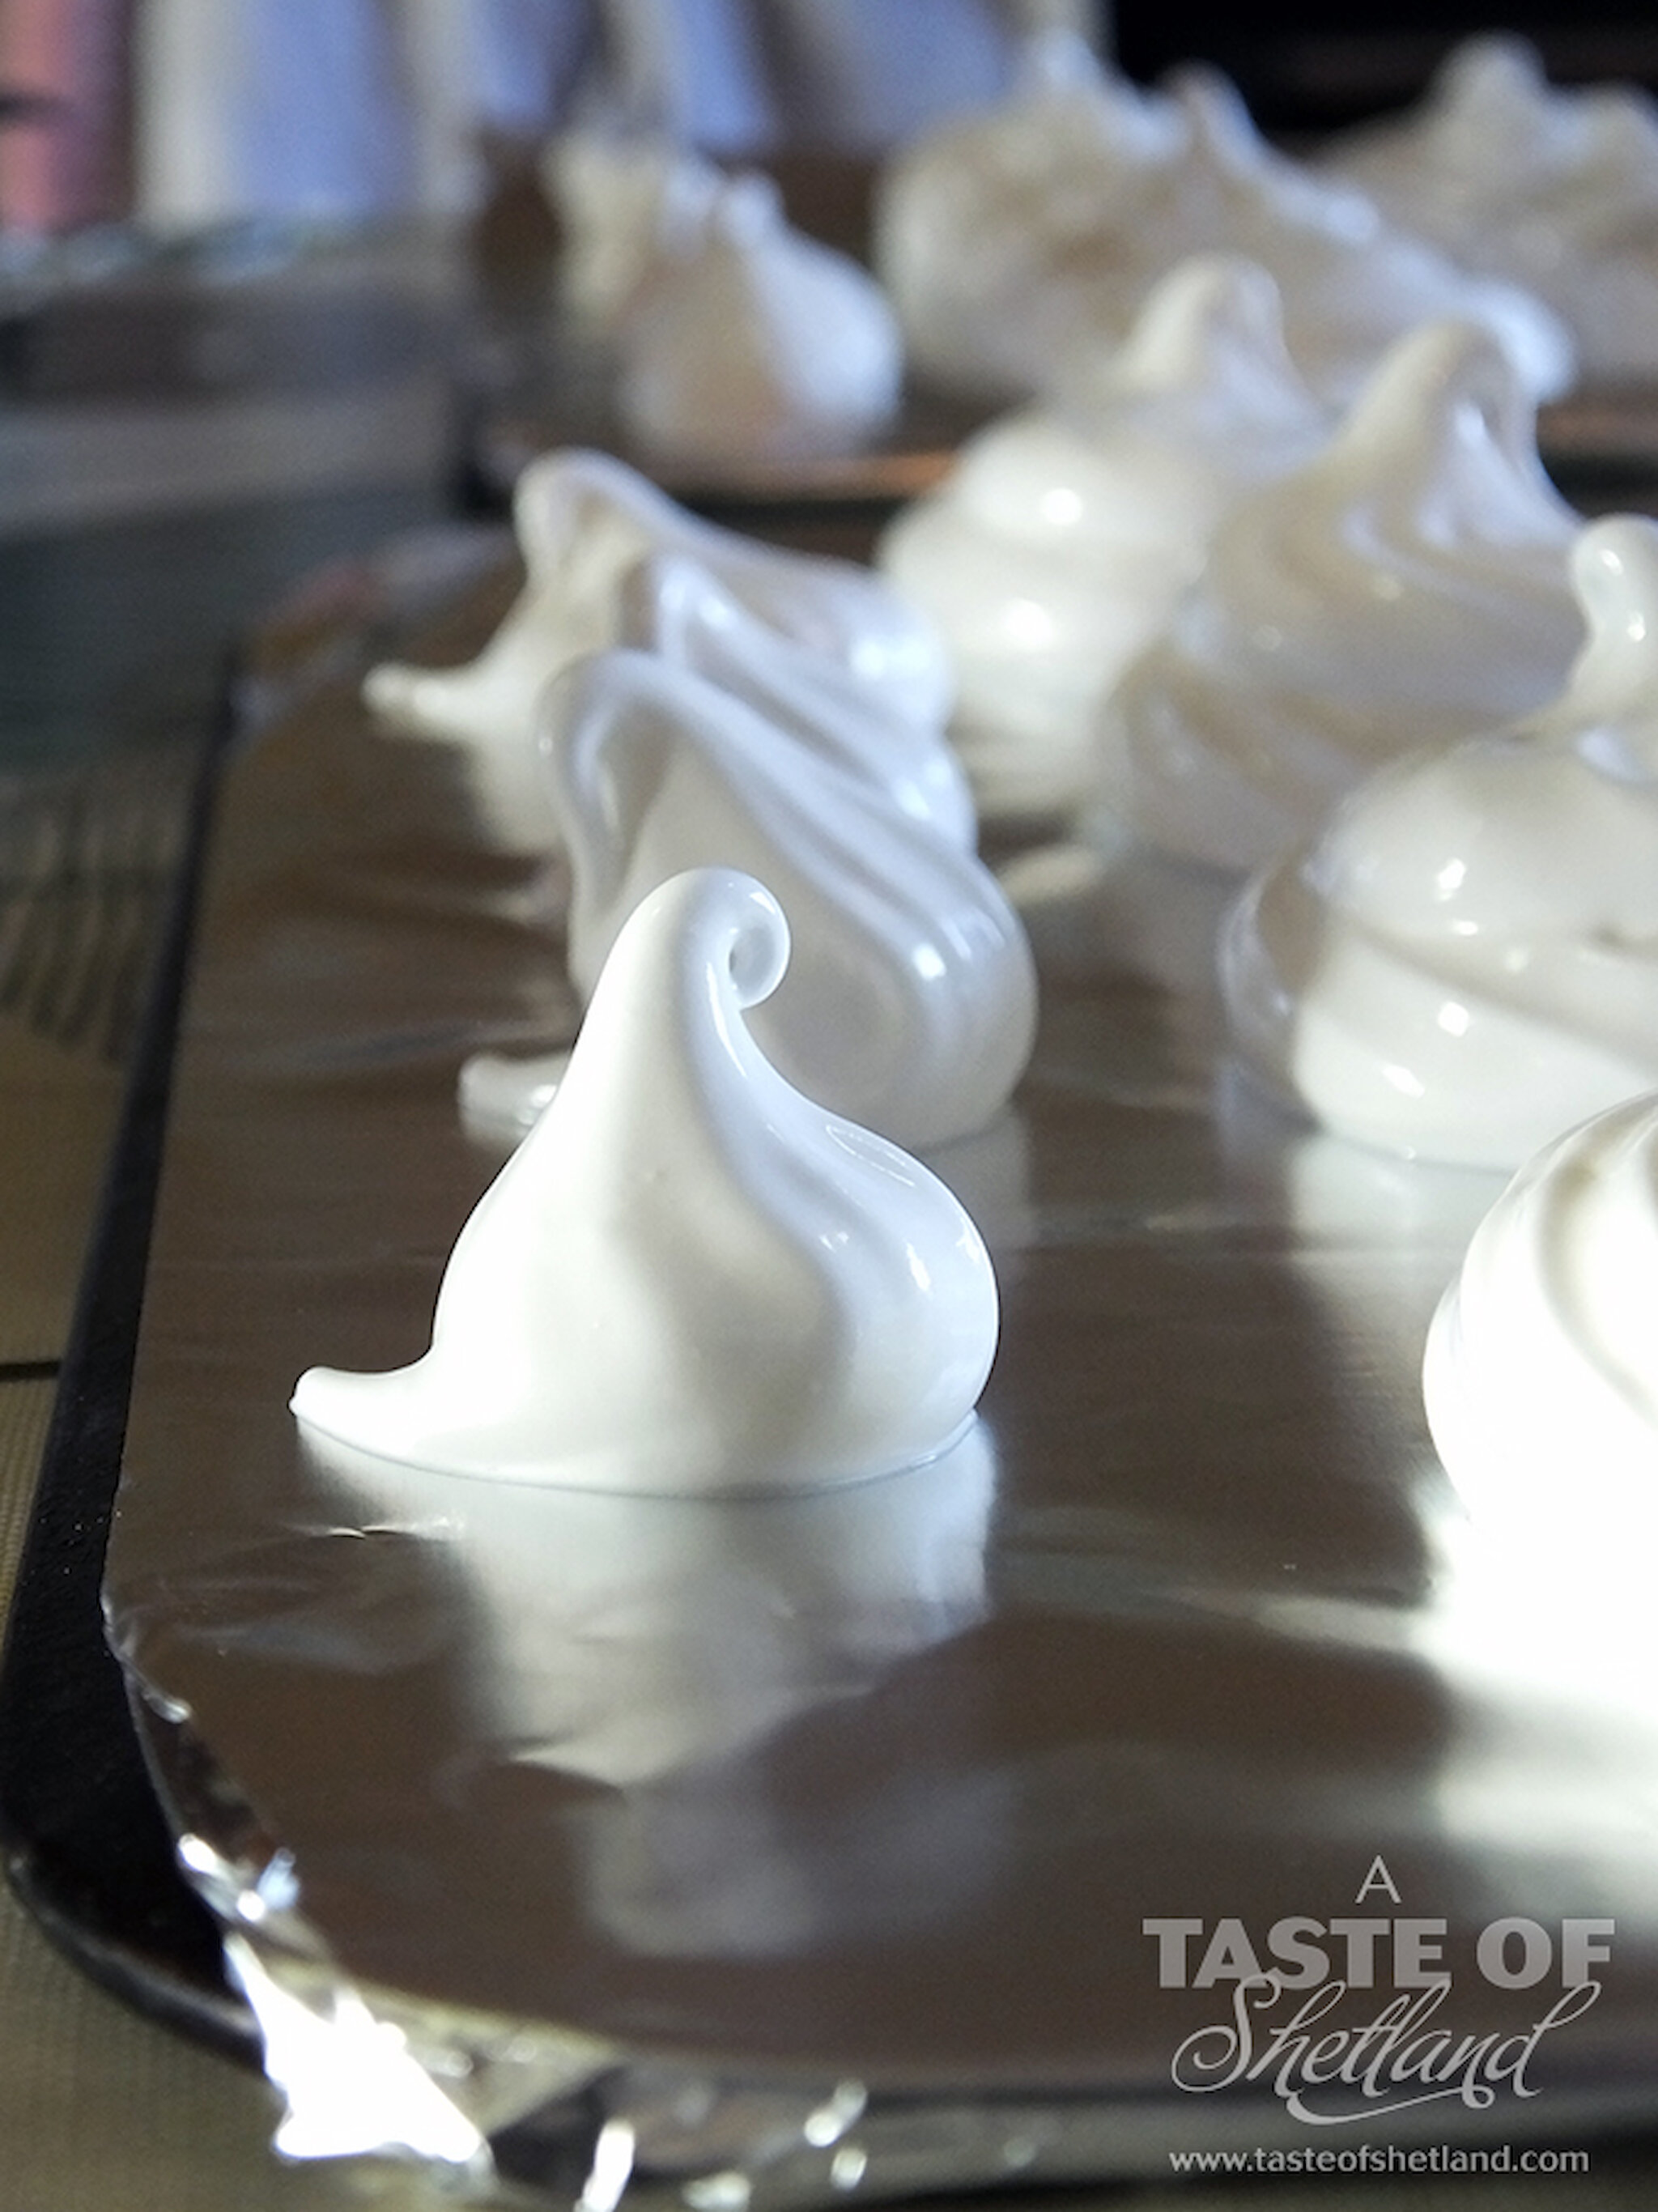
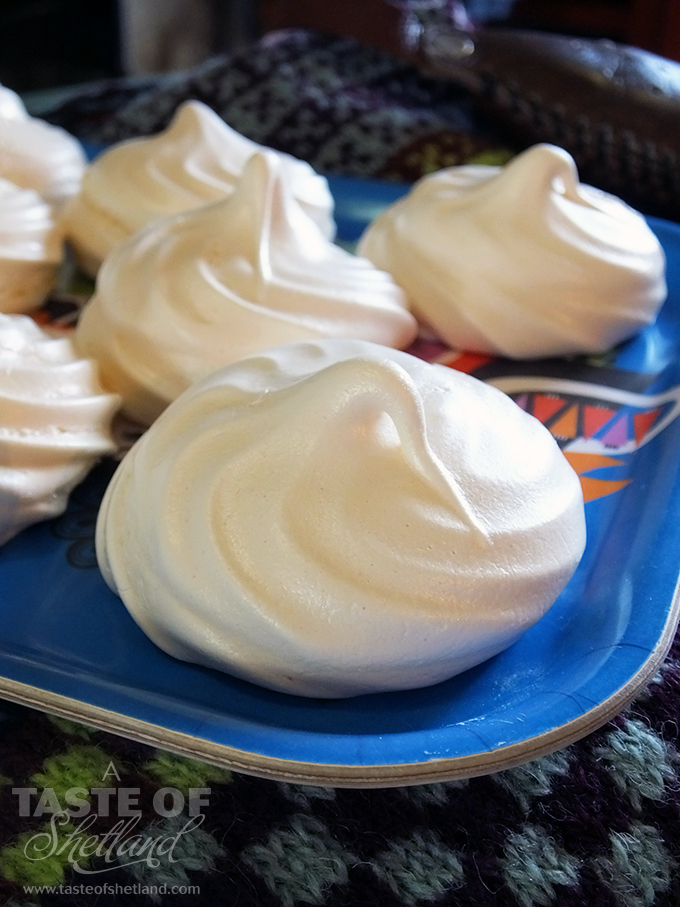
Perfect, white (except when it's raining outdoors and the yellow glow of kitchen lights reflects off them, as pictured above!) meringues, with a marshmallowy soft centre and crispy outer are easily obtainable if you follow Helen's tips.
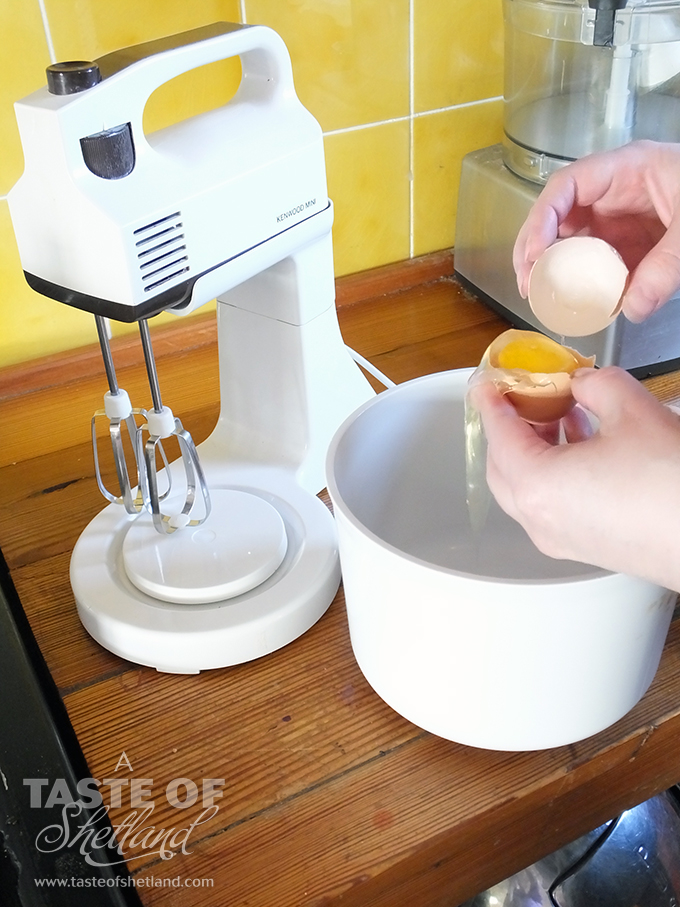
Her top tip #1: Use an ancient blender! Her trusted Kenwood Mini was her mother's blender about 30 years ago, and it's big enough to make meringues using five egg whites.
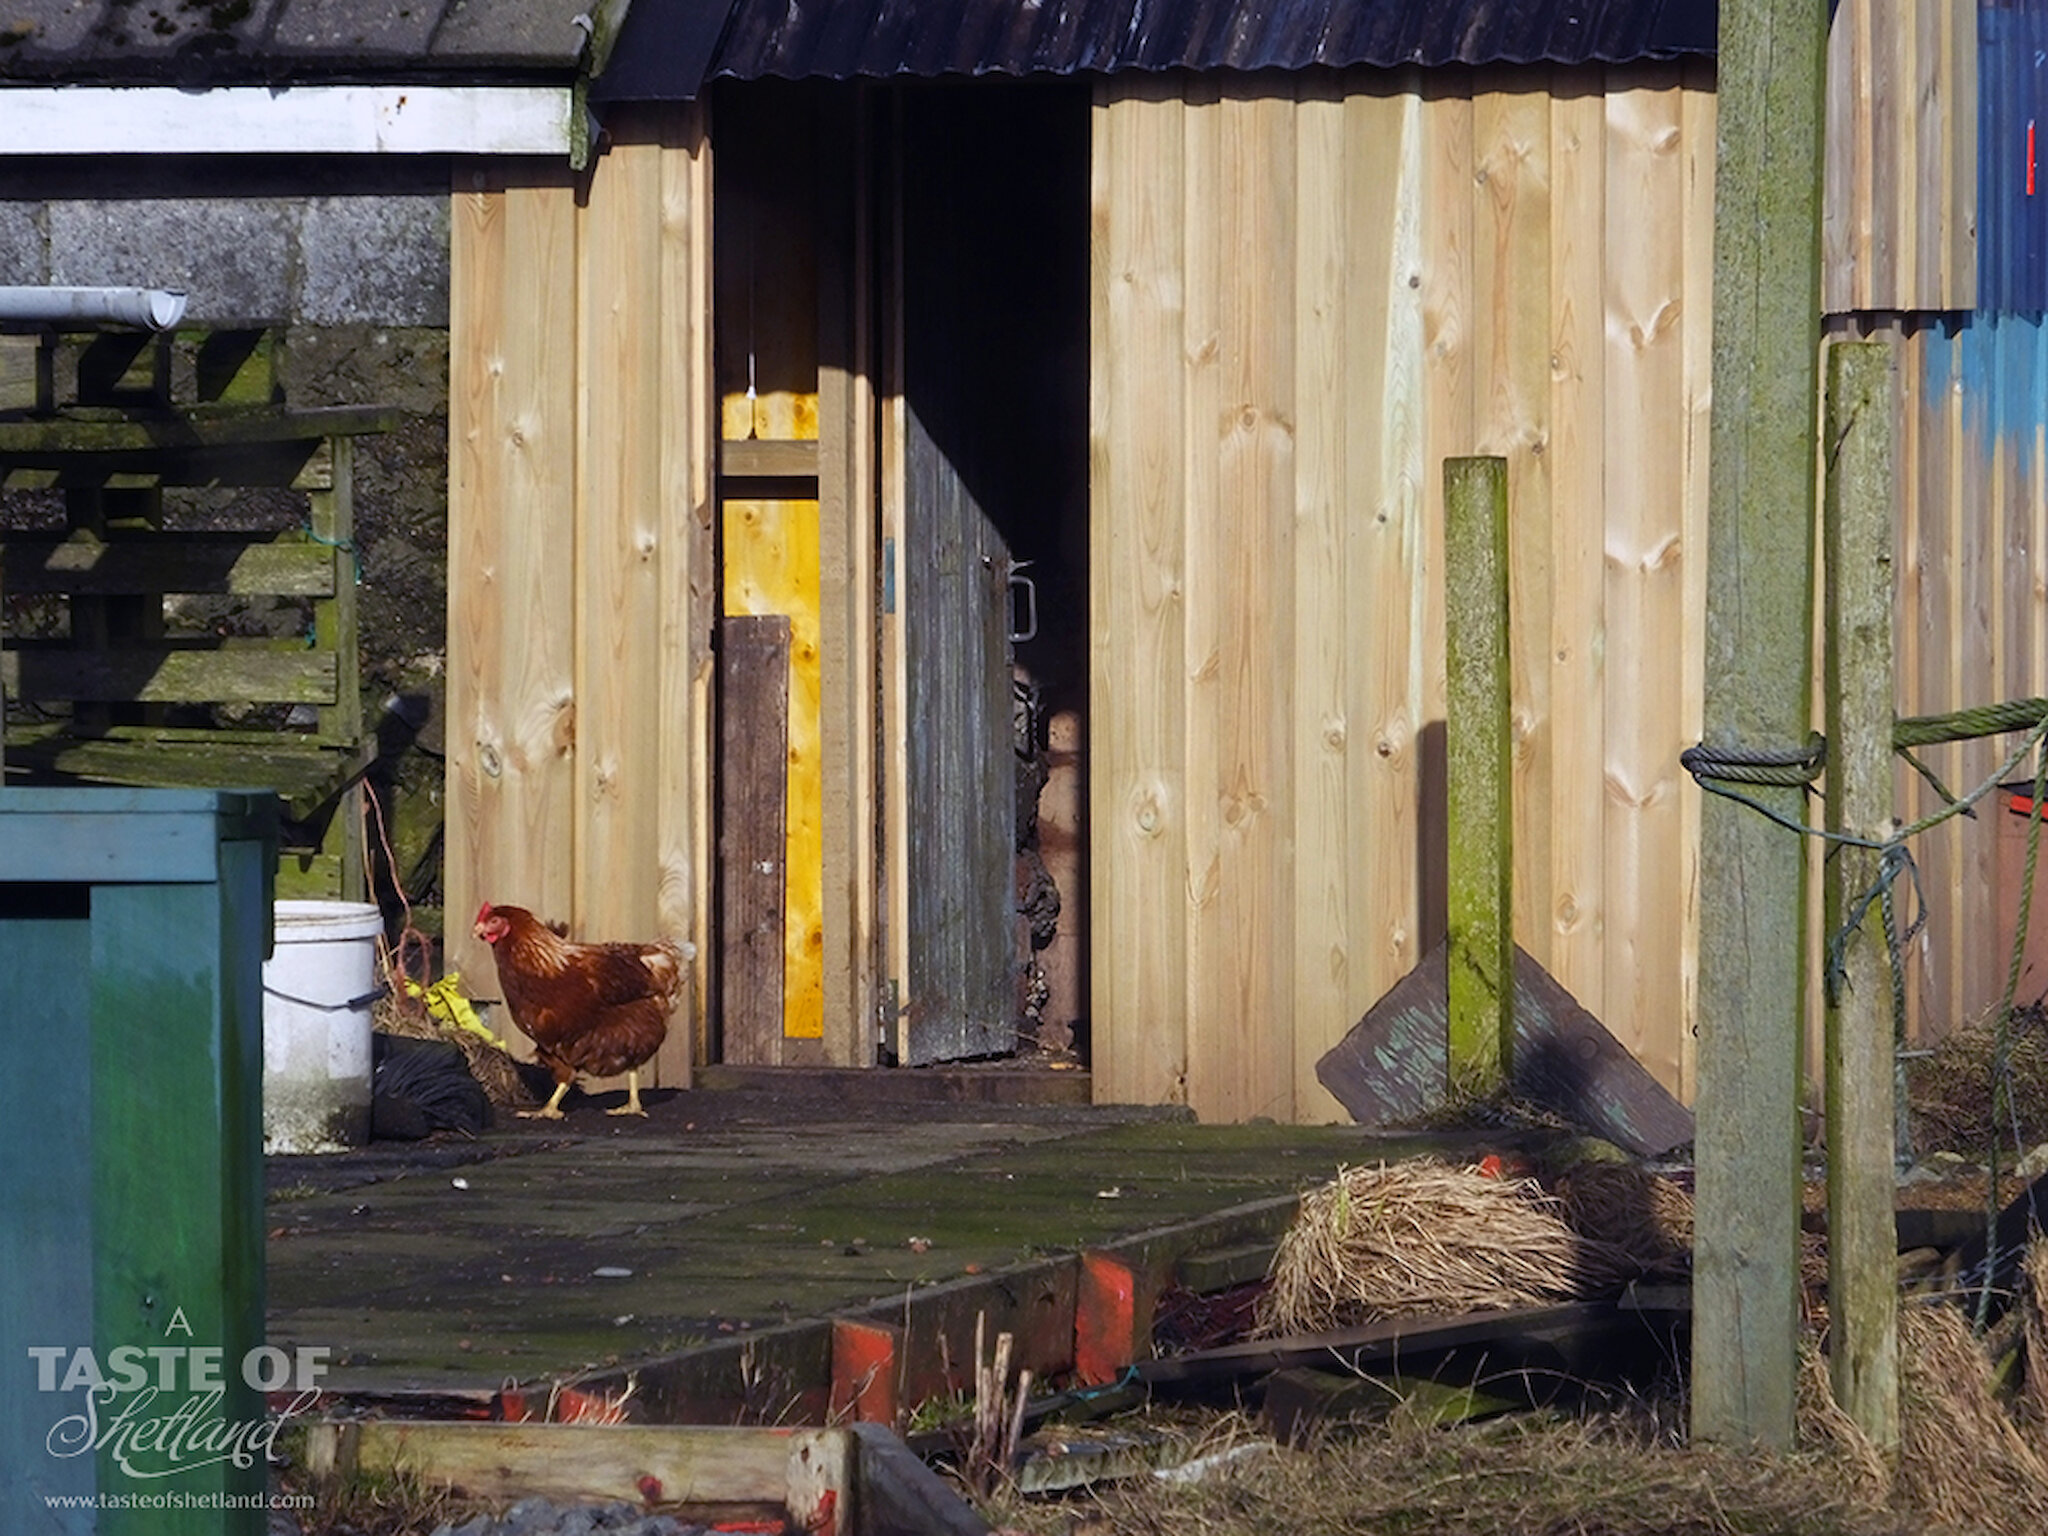
Secondly, don't use rubbish eggs. Local, Shetland grown eggs are the best, but if you can't get those, use the free range ones from your local shop. Rubbish eggs will take longer to peak than fresh, homegrown eggs, and they won't peak nearly as well.
A low heat is also required to keep the meringues white. "You're essentially drying them out", Helen says, "rather than cooking them. An hour and a half at 100 C is ideal, and then you switch the heat off, open the oven door and allow the meringues to cool down to room temperature. You can leave them in for an hour before leaving them to cool if you are in a hurry, but 90 minutes works best."
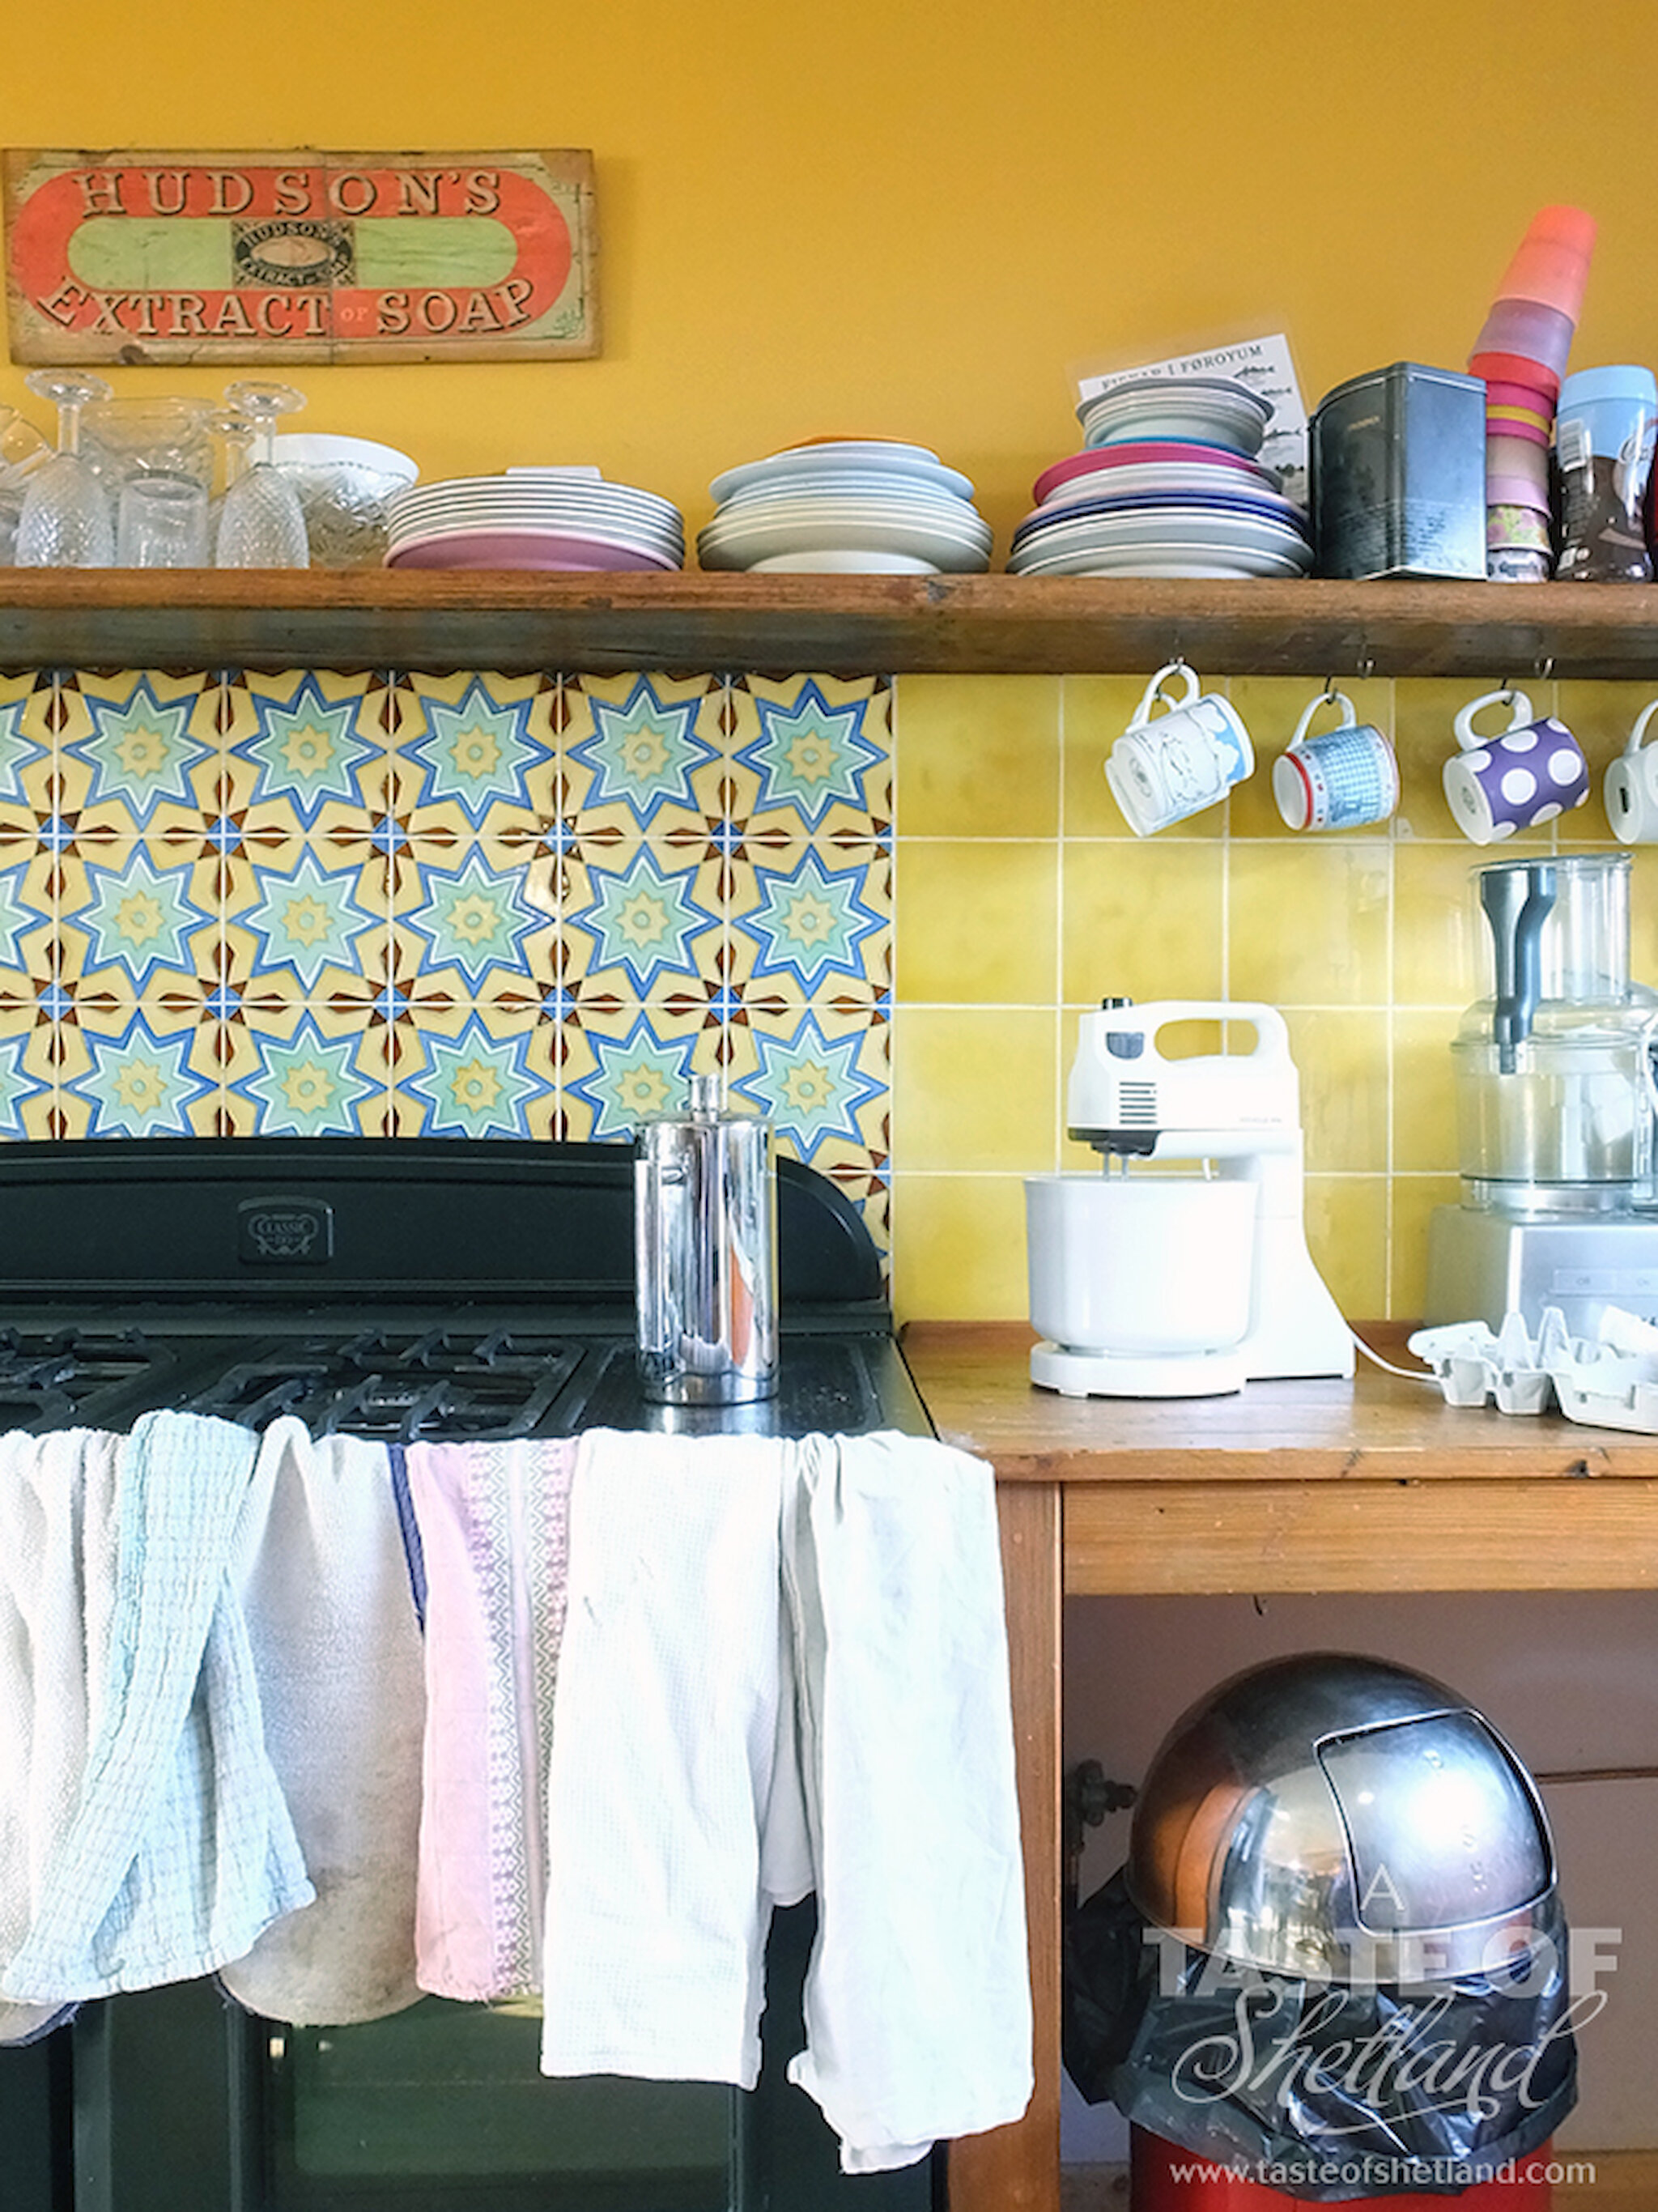
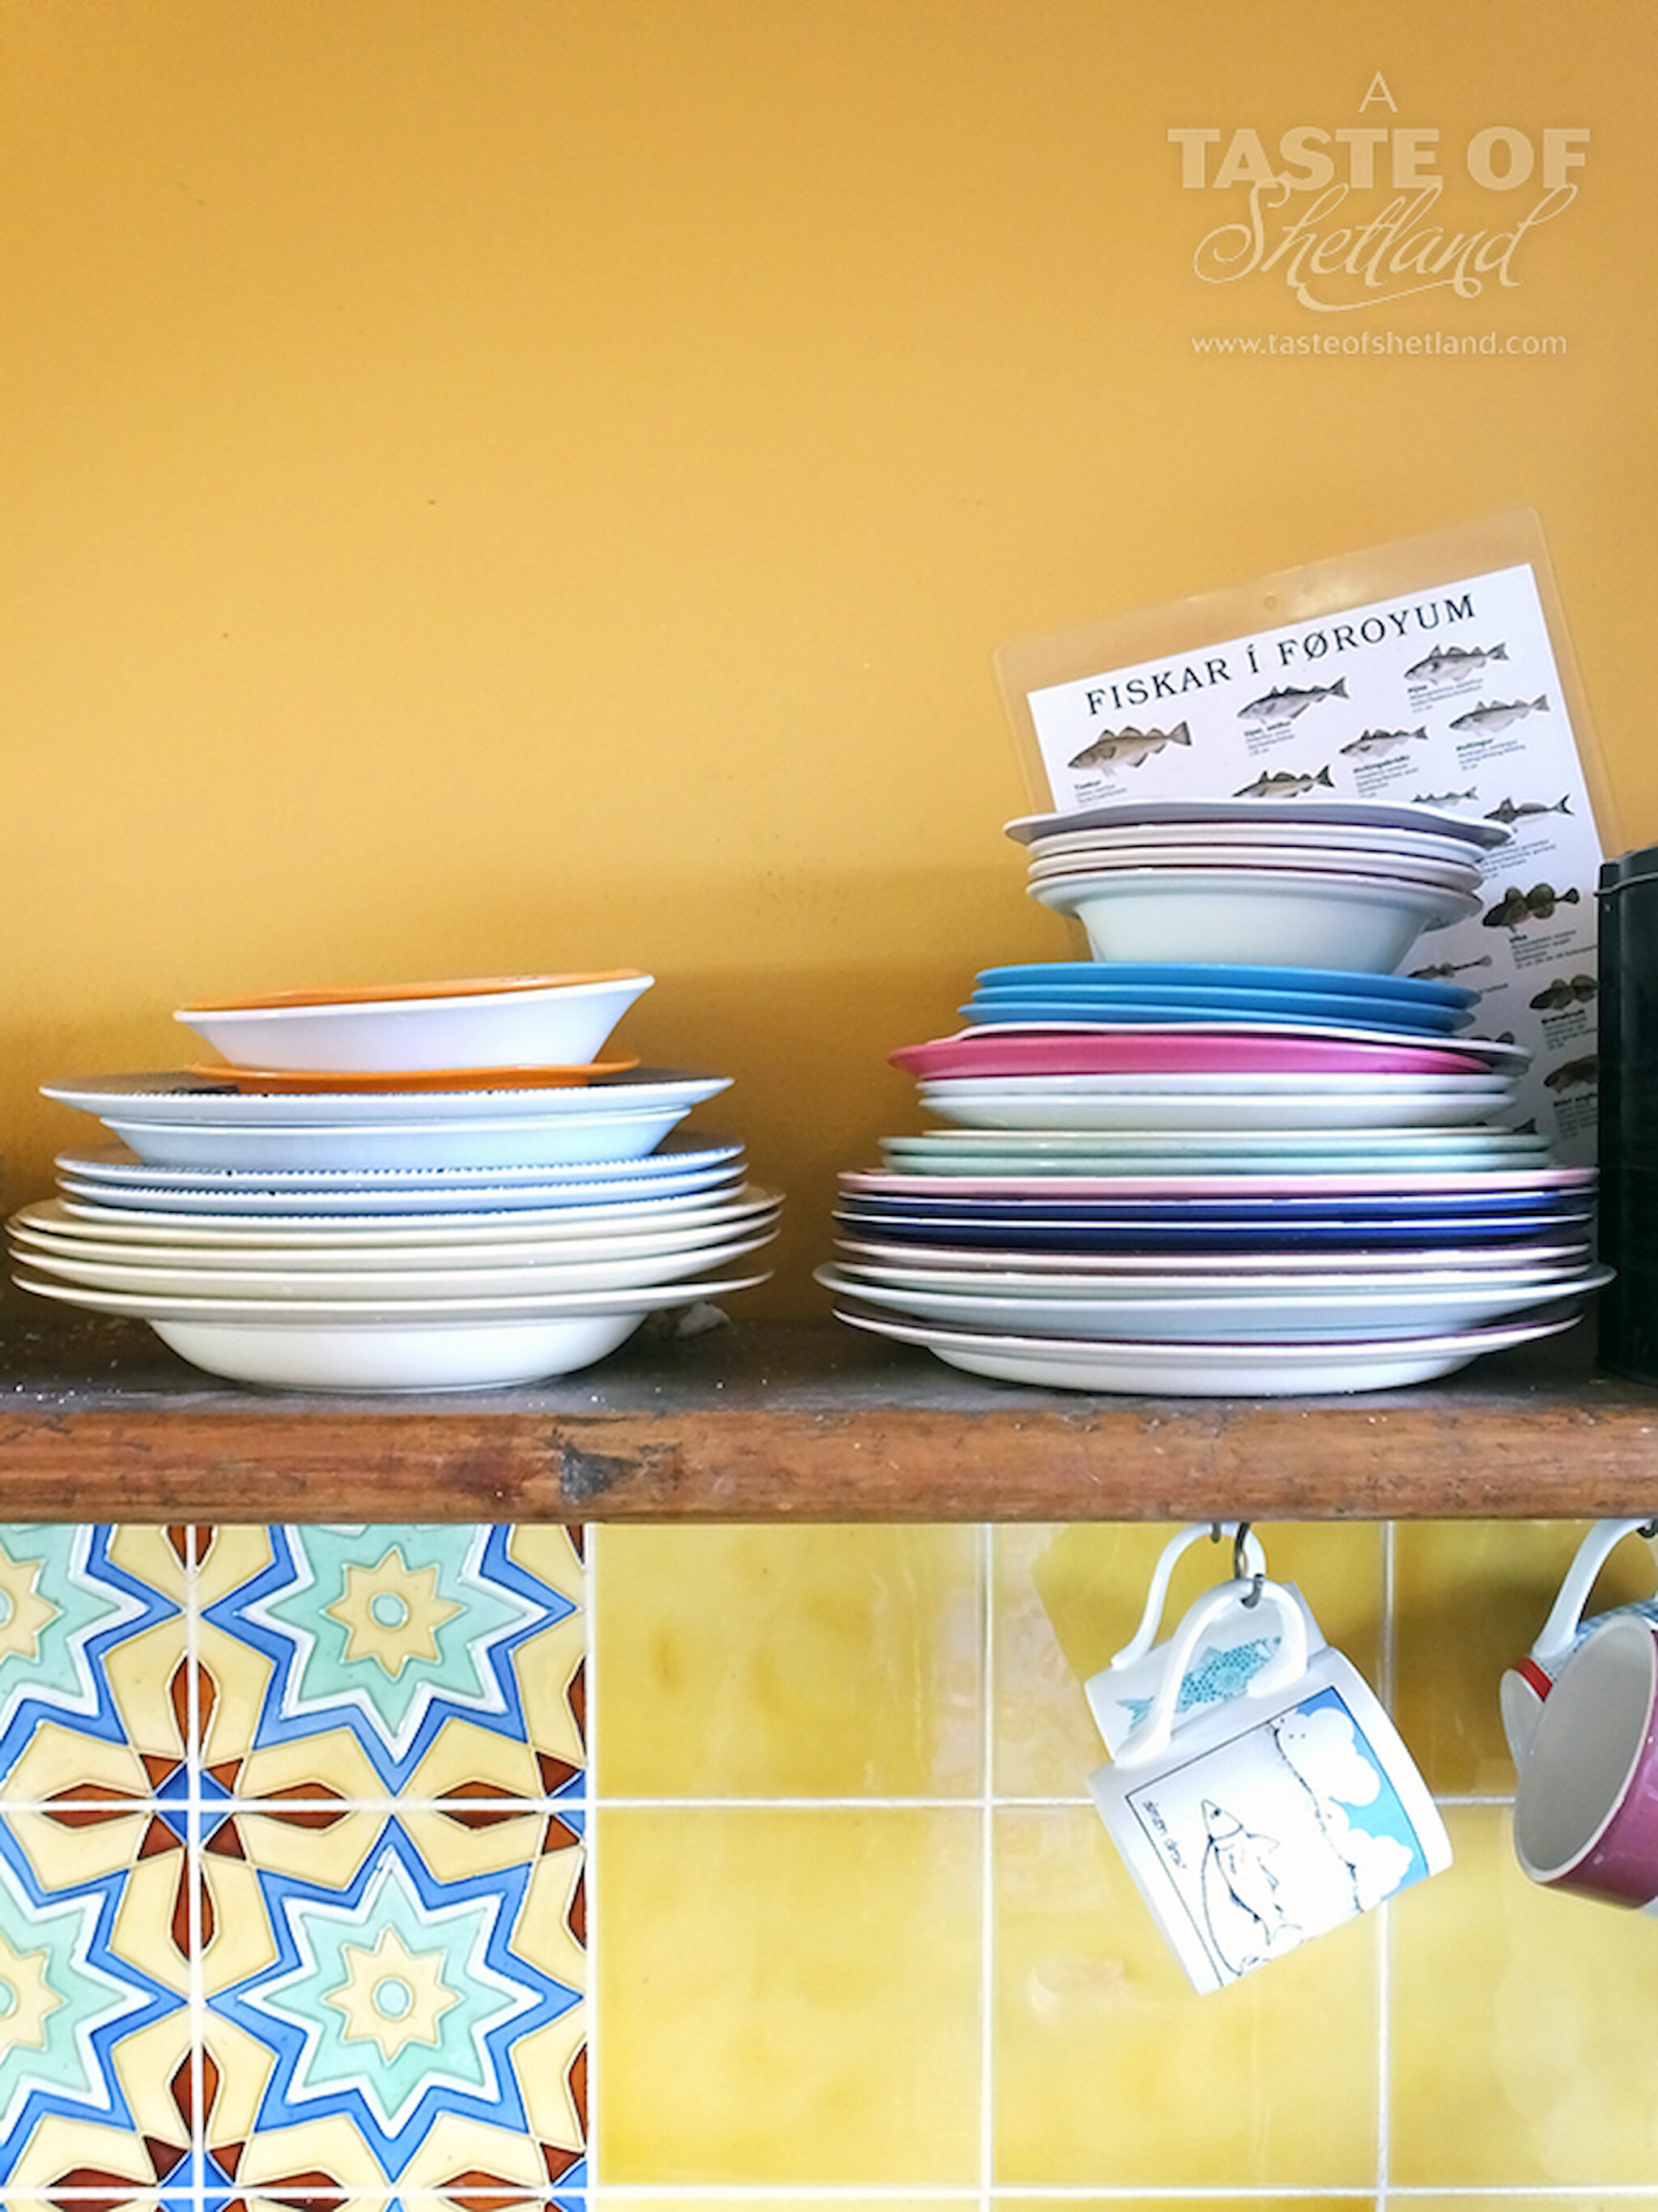
Waiting 90 minutes for meringues to cook means plenty of time to chat jewellery, crafting, kids and food over coffee with Hans Theessink crooning in the background (and to take a few cheeky snaps of Helen's gorgeous kitchen!).
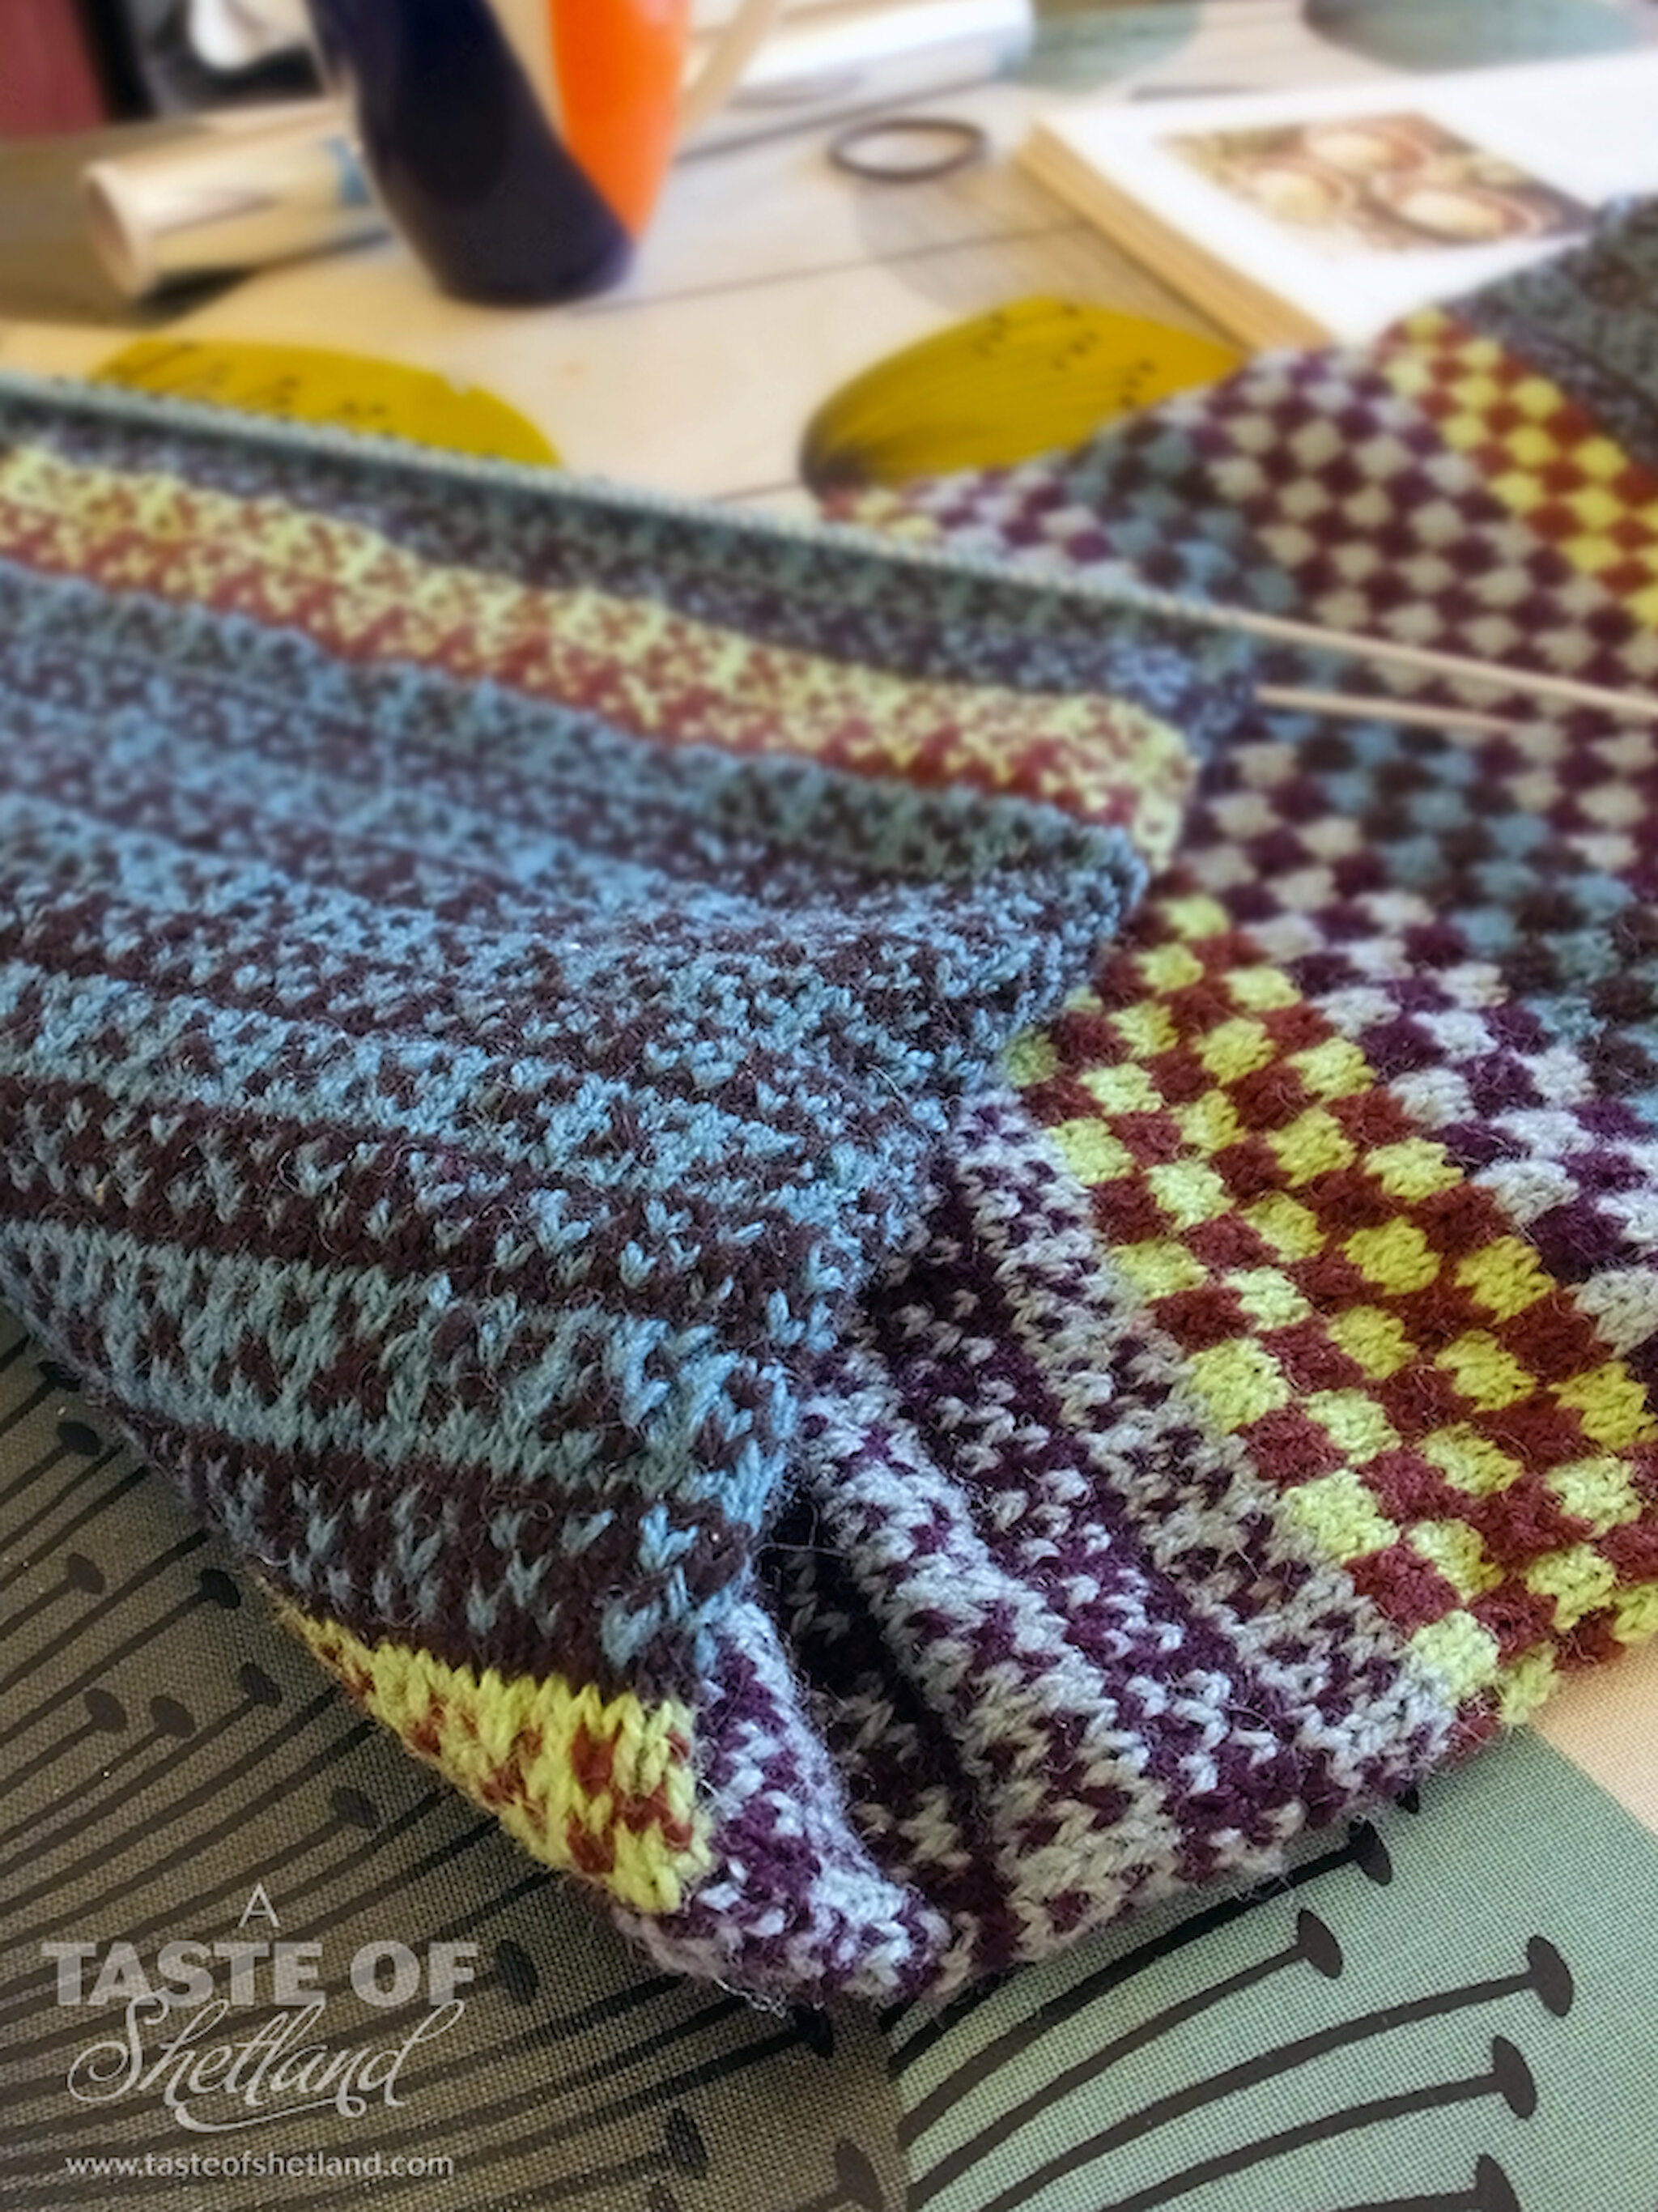
Helen has always been a crafter. Ever since she was a bairn she's been makkin' things from wire, fimo and beads. Jewellery, especially, was her favourite thing to make as a teenager. Her mother's family come from Unst, and it was from them and from lessons at school that she learned how to knit.
She's always had an awareness of knitting and its importance, historically, as women's work on Shetland. Helen originally studied in Aberdeen to be a physics teacher (all the while still making things), but was struck down for several years with ME and was too ill to work.
After returning home to Shetland her old knitting teacher gave Helen the pattern for some knitted Fair Isle mice which she was making and selling in the Shetland Musesum & Archives Shop. Helen went on to make hundreds of these mice, each one unique. While making these she had her first lesson into business, and how to work with colour. She wanted to make a mouse set for a wedding gift but first she had to teach herself how to knit a lace veil.
The next step, logically, was to begin knitting with wire.
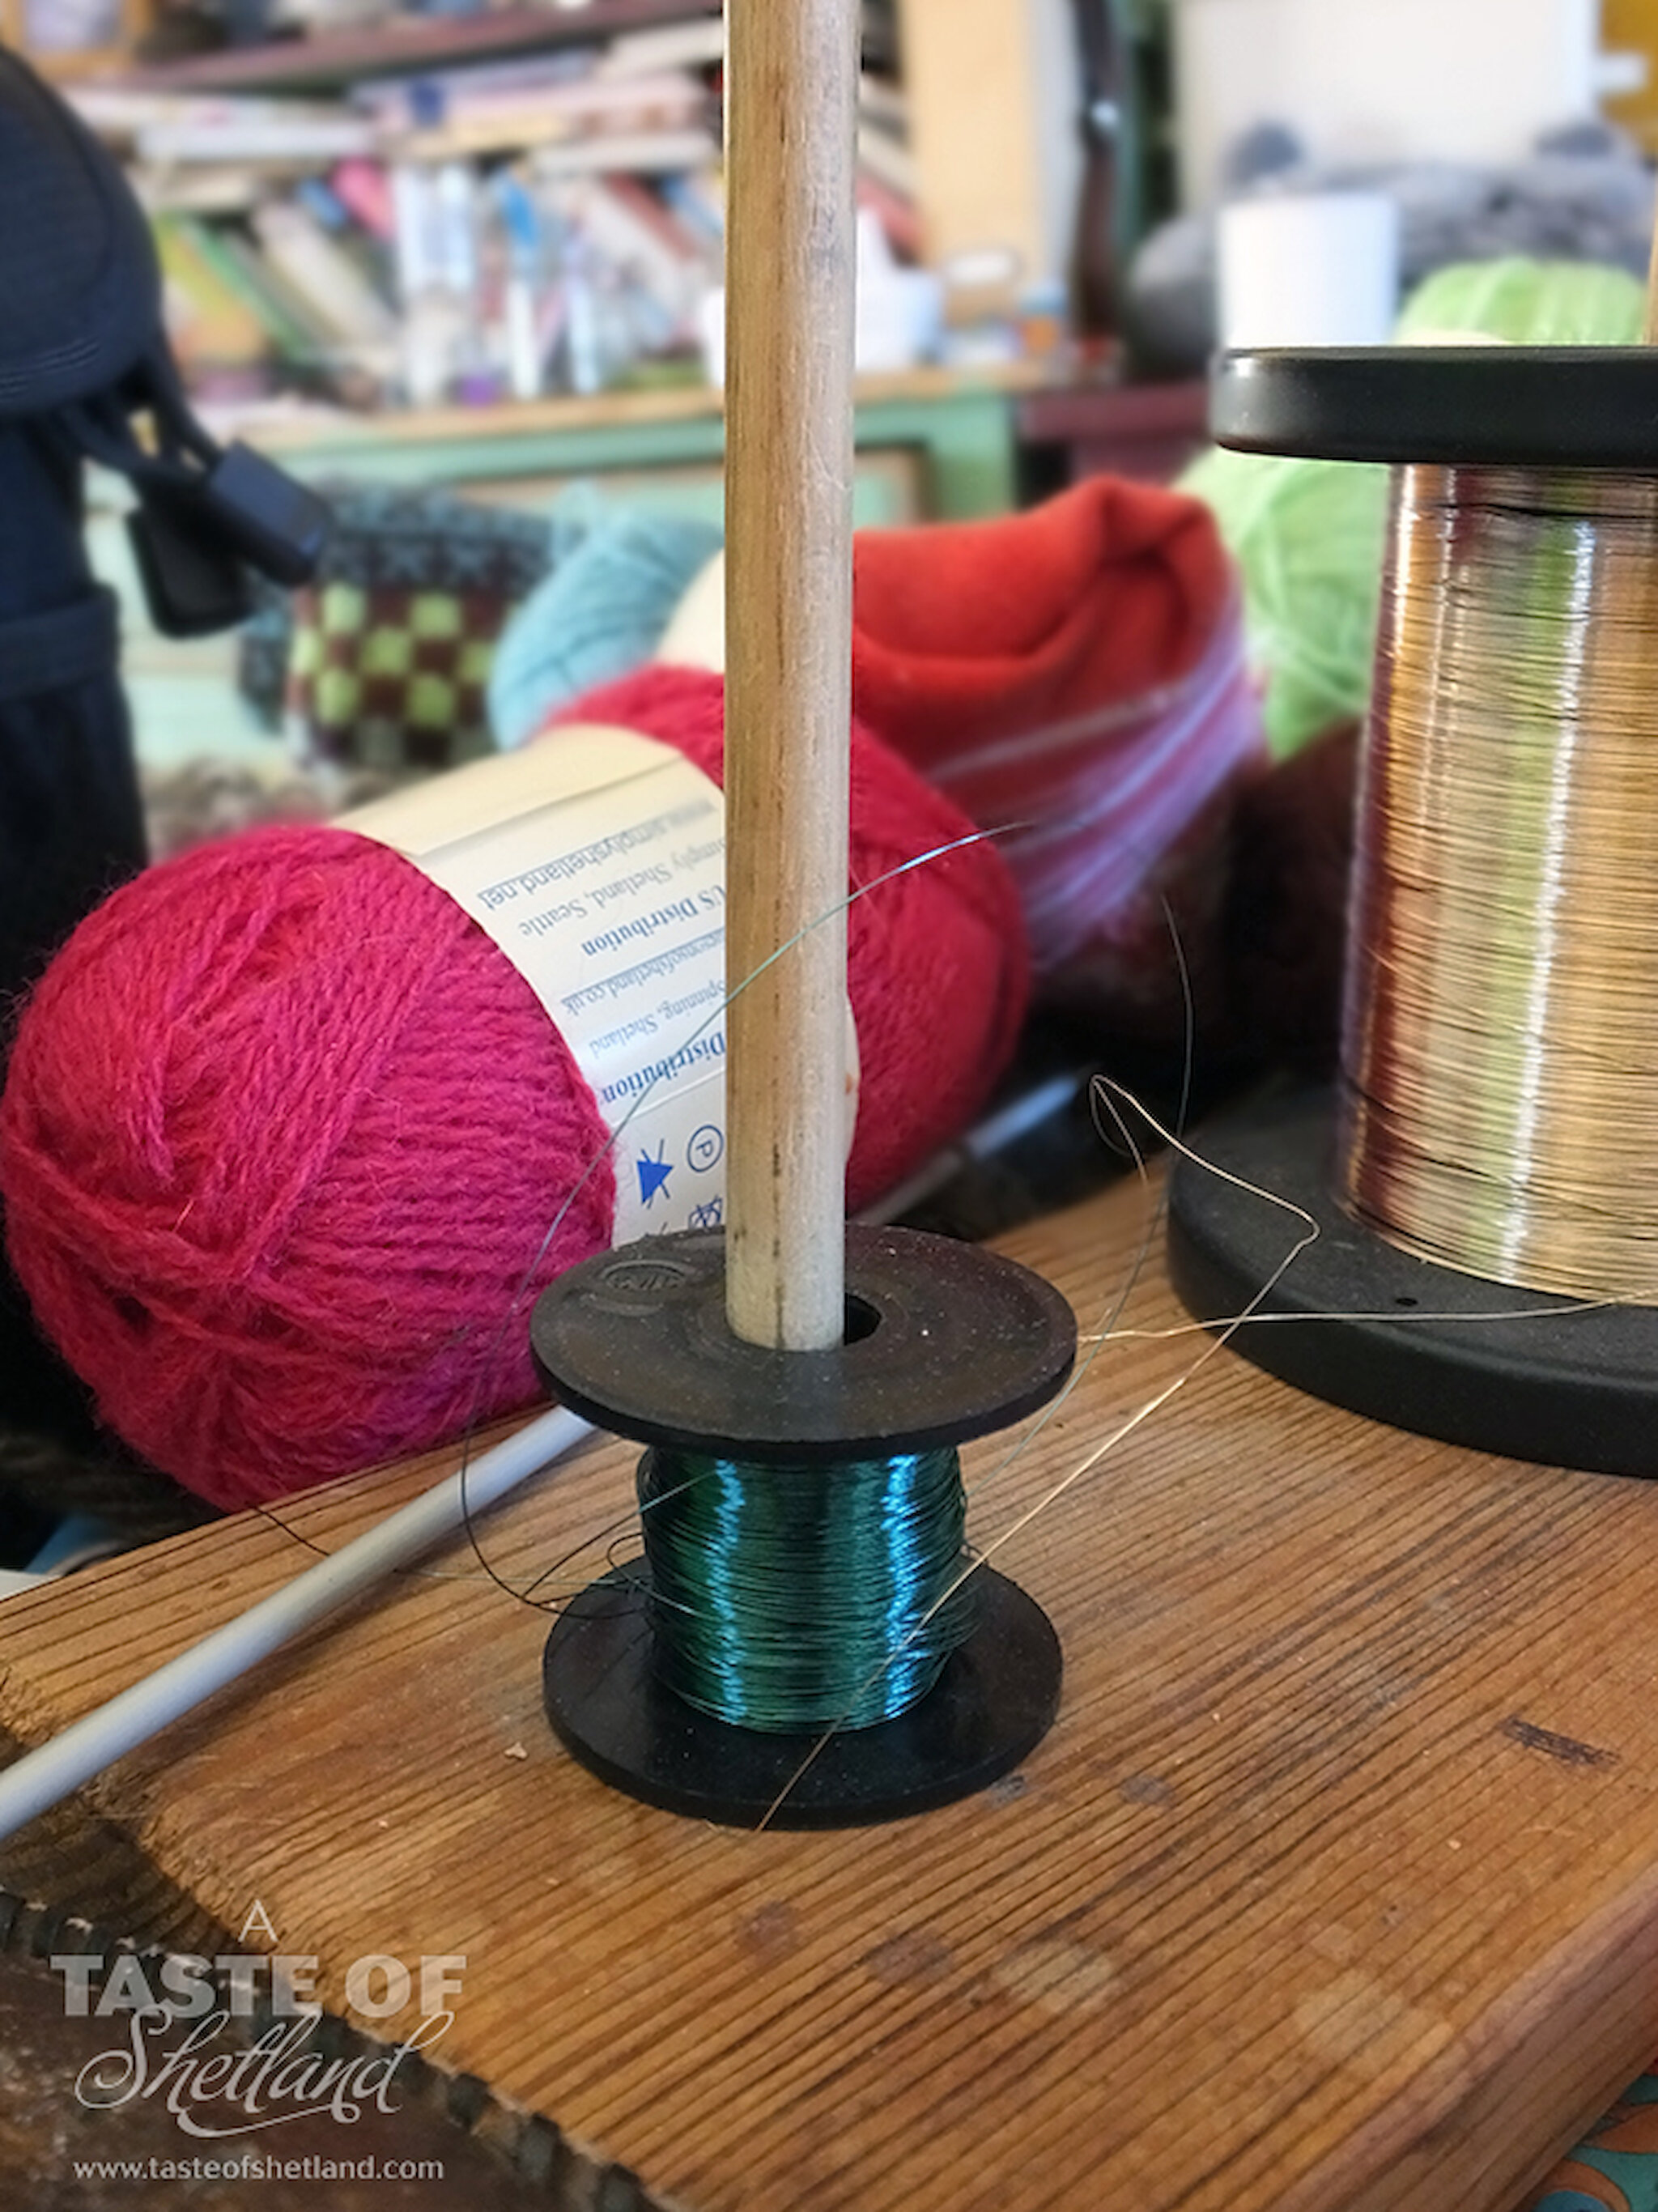
Helen began experimenting with wire and was commissioned to knit a wire tiara for a wedding. Bracelets and earrings soon followed.
Kathleen Kettles' Reverse Therapy quickly cured her ME, and Helen's been busy creating ever since in between raising four small children.
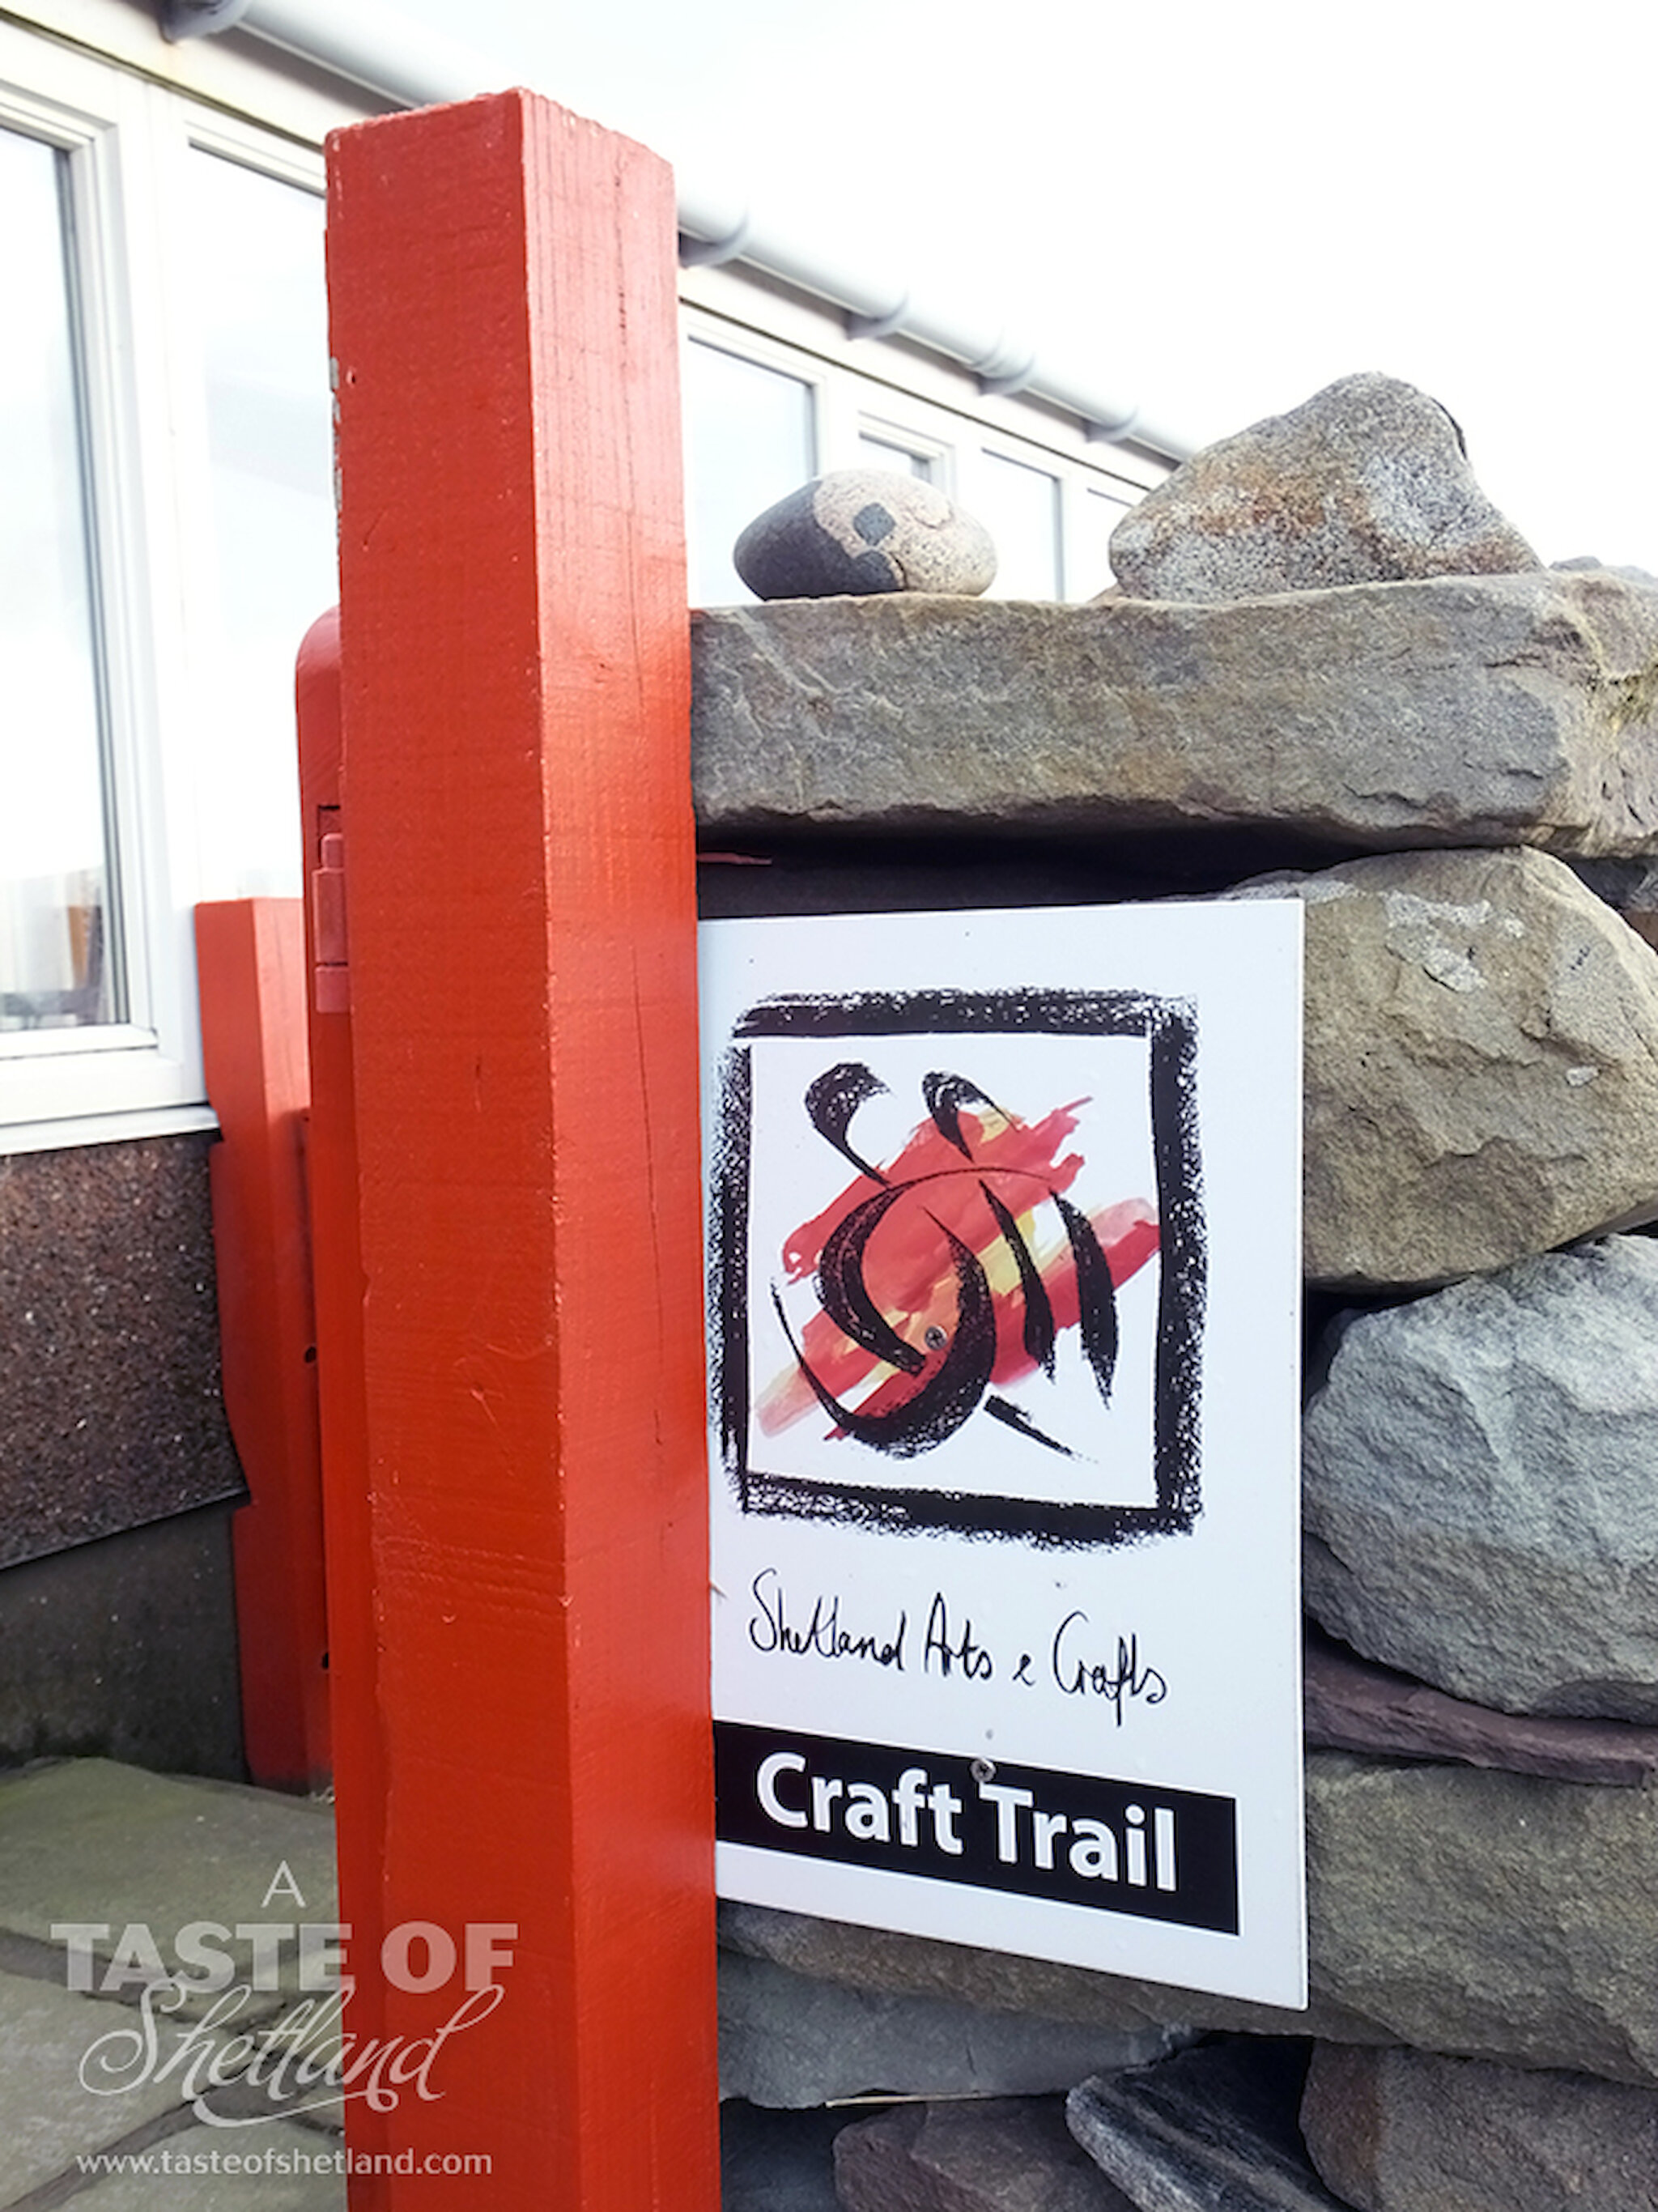
Helen is available for commission and she also runs nightclasses, workshops and speedcrafting events around Shetland. Find her on Facebook, Twitter, Instagram and of course, her website. She's also on The Craft Trail, so you can always pop along and visit her in Sullom - she might even have some meringues on the go!
Meringue Making Tips from Helen Robertson Jewellery
Course: Main
Servings: 24 meringues
Prep Time: 15 minutes
Cook Time: 90 minutes
Ingredients:
- Local Shetland hen's egg whites - 5
- Caster sugar - 10 oz
Instructions:
- Before you start make sure everything is absolutely clean. Wash any bowls and egg beaters you are using, even if they are already clean. We don't want any specs of dust in our meringues!
- Rubbish eggs do not work as well as home or locally grown eggs; they take so much longer to get to the peak stage, and they don't peak as well as they could. If you can't get local eggs make sure you get free range ones from your local shop.

- Place the egg whites in your clean bowl, making sure any non-egg white is removed. Use a broken shell to remove any bits of shell or stringy bits.
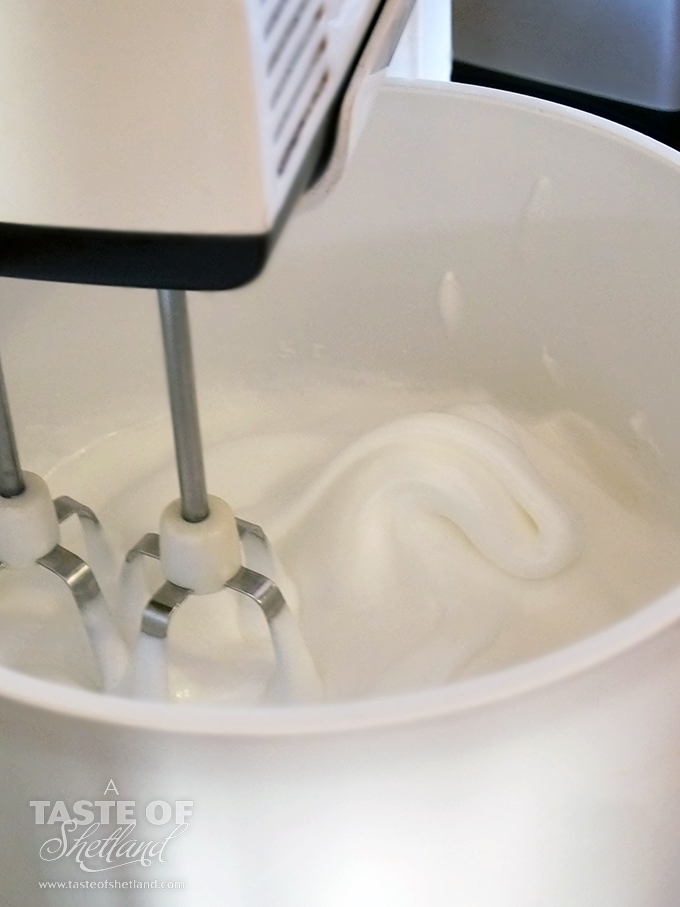
- Start the mixer off slow for a few minutes and then speed it up.
- When the egg whites are light and fluffy and starting to hold their shape, slowly sprinkle in the caster sugar (2 oz for each egg white) while the mixer is continuously beating.
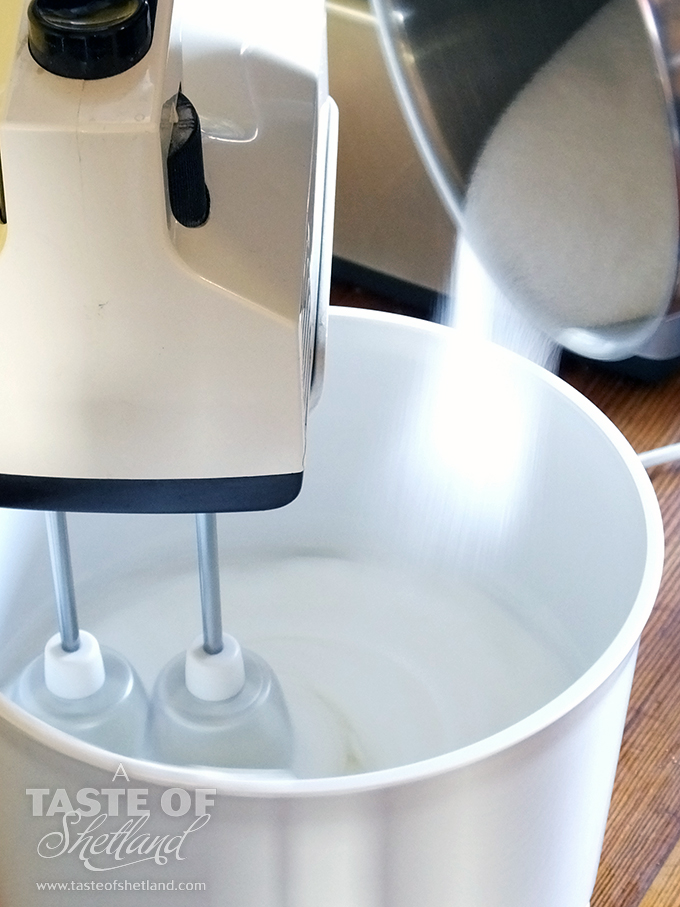
- The mixer will leave a trail in the meringue when it is ready.
- Line a baking tray with baking parchment or foil.
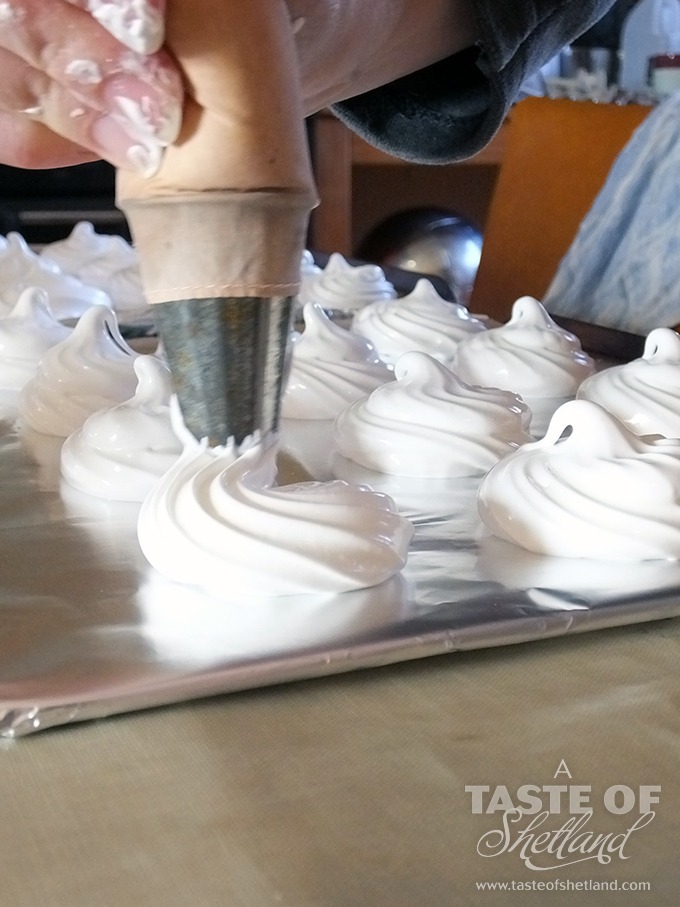
- Spoon the meringue into a piping bag fitted with a large star nozzle.

- Gently press down from the top of the piping bag to make sure there are no air bubbles present, and pipe small meringues about 3 inches in diameter.
- Place in a preheated 100 C oven (110 C fan oven) for 60-90 minutes (90 is better, but 60 will do if you are in a hurry). The low temperature helps keep them white - essentially you are drying them out instead of cooking them.
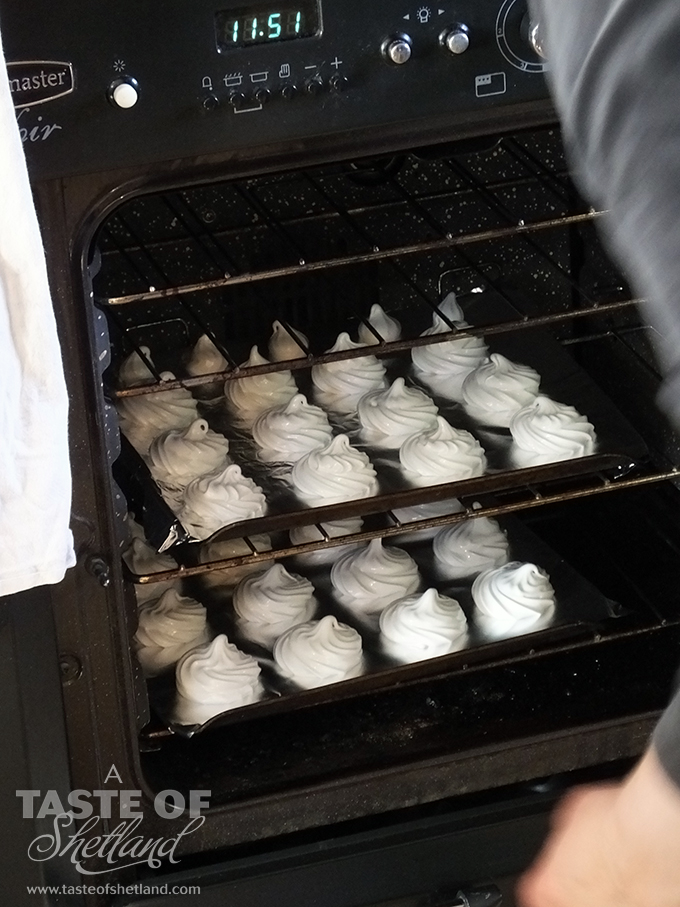
- After 90 minutes, turn the heat off and open the oven door, but leave the meringues inside to cool down to room temperature.
- Serve as is, or sandwich together with cream or chocolate. Meringues will keep for a week or so in an airtight container.


Elizabeth Atia
I am a self taught home cook, feeding my family on the west side of Shetland with as much local produce, flavour and love as I can. I am no expert by any means, but I do enjoy learning and writing about food, flavours and techniques.